Tuesday, December 27, 2011

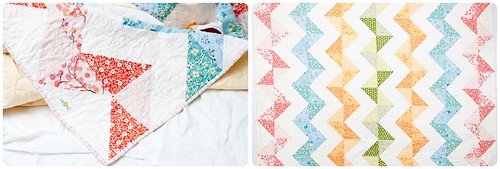
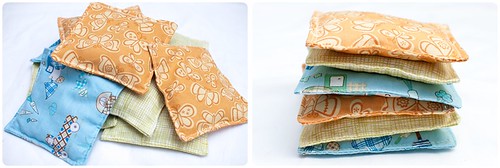
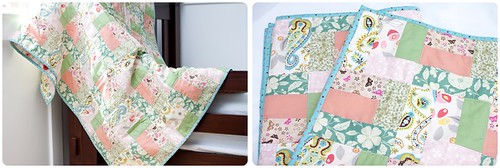
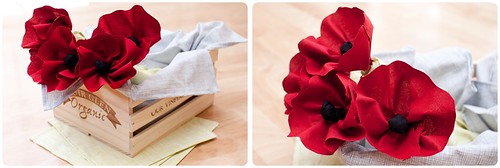
No Linky Party This Week

Happy Holidays :)! I'll see you all next week. Have a safe and Happy New Year!

Tuesday, December 20, 2011

Made By ME #11 Linky Party and Features

Are you in the holiday spirit yet? I hope so - if not then these great projects from last week's linky party would definitely get you closer :)

Sewing and Knitting


Crafts


Food
 
 
And on to this week's "MADE BY ME"


Quick rules and all that boring stuff:
  • Share whatever new projects you've completed since last week - if picked you will be feature next week
  • Visit some of your blogging friends :) - we all love comments!
  • Grab the button below and share the fun 
  • and not really a rule, but it will be great if you follow JAQS Studio ;)
 

Monday, December 19, 2011

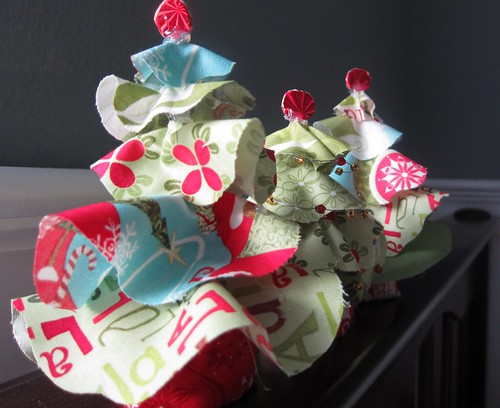
Scrappy Christmas Trees - Revisited

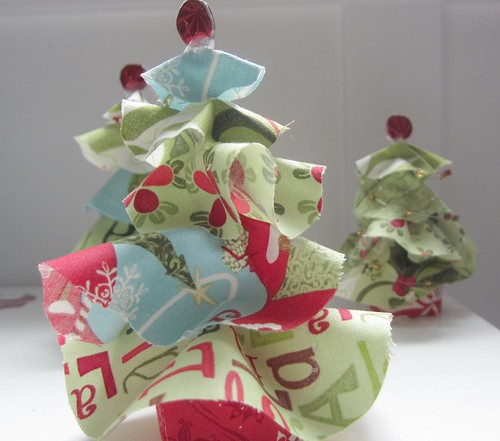
Christmas has been very quiet this year around here.  Time got away from me and it's now down to the wire for decor, planning and gift shopping.  To bring some holiday crafts to the household - I revisited this project from last year - the scrappy Christmas tree :)  Here's the tutorial from last year:

IMG_0177_2

These small fabric Christmas trees will add some holiday spirit every space. Here's a quick picture tutorial on how to make these trees for yourself - and of course I turned to my 12 Days of Christmas Moda Charm pack.

Materials (for each tree): 

  • Various sized fabric squares 2" - 5".  Need about 4-5 squares 
  • Strip of fabric -  2" x 8"
  • Straw
  • Small Play-Doh container - emptied
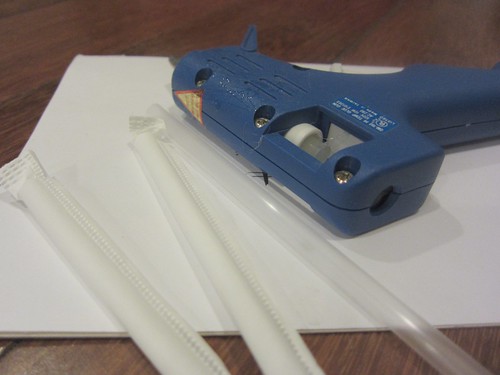
  • hot glue gun
  • some tiny 'ornaments' to decorate the tree with - I used a sparkly paper cut out for the top ornament and some beaded string for the tree. 
  1. Get your materials ready and hot glue gun heated
  2. IMG_0136_2
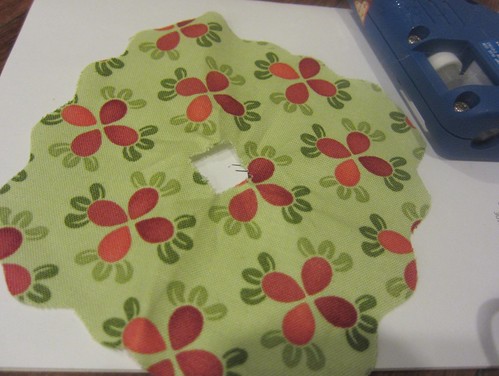
  3. Cut each fabric square into a free form circle - you could make the edges ruffled like pictured or any other decorative edging of your choosing.  Cut out 4-5 of this circles - each one a little smaller than the previous.
  4. IMG_0138_2
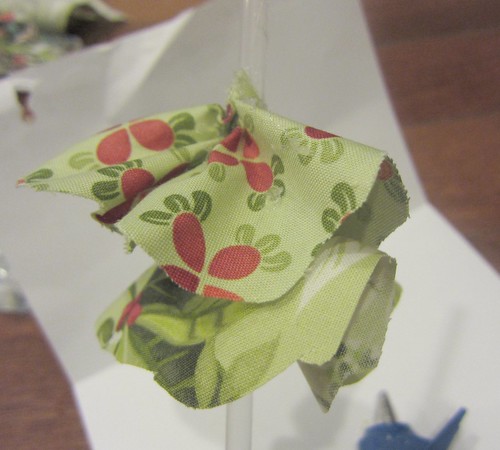
  5. Starting from the largest fabric circle cutout, hot glue fabric onto the straw.  I gather the fabric slightly to make it even around the straw.  Leave about 1/3"-1/2" between each piece of fabric.
  6. IMG_0139_2
  7. Trim off the straw on the top of your tree - up against the fabric.  Trim off base of the tree - make sure you leave enough straw so that the tree sits nicely in the Play-Doh container.
  8. Put some hot glue on the emptied Play Doh container (I use those tiny Play-Doh containers) and wrap the 2" fabric strips around it.  This will be the base of the tree.
  9. IMG_0141_2
  10. Put a bunch of hot glue in the center of the Play-Doh container and stick your tree in - the straw part only not the fabric :).
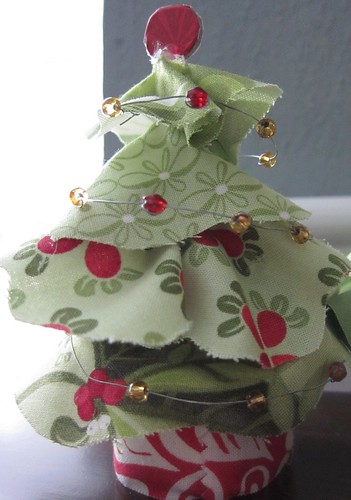
  11. Decorate your tree however you like.
And voila - your very own mini (fabric) Christmas tree!

IMG_0164_2

Right now these has been in the possession of my 3 year old - yes these trees are very durable ;)
IMG_0174_2

Sharing this again (for the first time ;)) at these great Linking Parties.

Tuesday, December 13, 2011

Made By ME #10 Linky Party and Features

WOW - WOW - WOW.  I am so excited about the holidays and the wonderful projects out there.  Personally I am SUPER behind, if not completely absent, from holiday projects.  But I am so happy that there are such great projects out there for me to drool over :).  Here are some of last week's favorites:

Sewing Beauties


Beautiful and Creative Home Decorations


Delicious Holiday Snacks

And on to this week's "MADE BY ME"


Quick rules and all that boring stuff:
  • Share whatever new projects you've completed since last week - if picked you will be feature next week
  • Visit some of your blogging friends :) - we all love comments!
  • Grab the button below and share the fun 
  • and not really a rule, but it will be great if you follow JAQS Studio ;)

Wednesday, December 7, 2011

Star on Pink Quilt COMPLETE

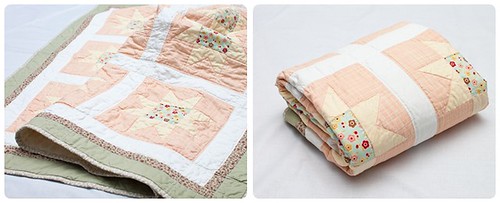
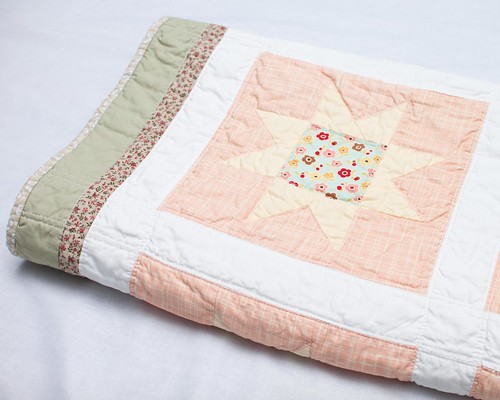
I was beginning to think that I would never finish this quilt! Thankfully, some fancy scheduling made this finish a reality. This is my newest quilt - Stars on Pink :) - washed, crinkly and super comfy:

Stars On Pink-5

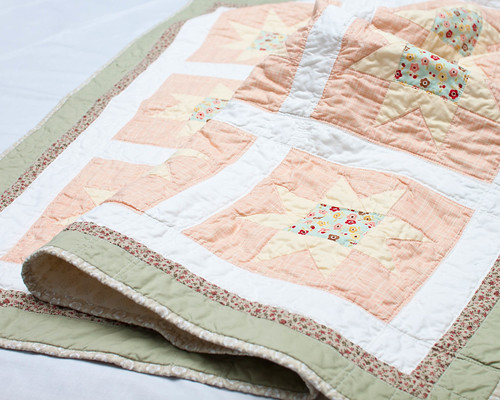
I really love the floral print and green borders. I decided to use both to give more contrast to the otherwise more muted colors of the stars. I love the way it makes the middle of the star...POP.

Stars On Pink-3

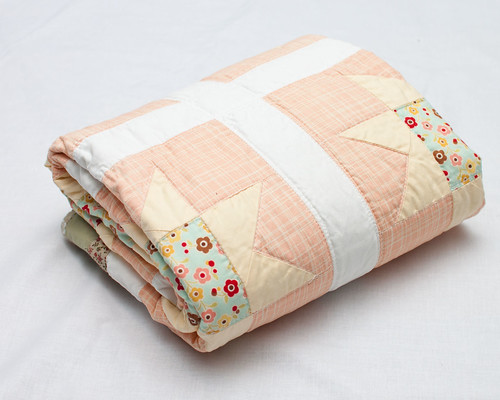
Another view of this quilt - all folded and ready to be used :)

Stars On Pink-4

Quilt Information:
Stars on Pink
Front: 100% Cotton Prints
Batting: Warm & Natural 100% cotton
Backing: 100% Cotton Print
Completed Dimension: 40" x 100"
Quilting Method: Straight stitched along each seam and each star
Binding: Machine Stitched for extra durability

Where to buy?


I will be sharing this quilt at these great Linking Parties.

Tuesday, December 6, 2011

Made By ME #9 Linky Party and Features

Hope everyone is having a great week so far - filled with many productive hours and fun projects to work on :).  Here are a few favorites from last week's Linky Party:

Gorgeous Sewing and Knits

Yummy Foods

Creative Decorating and Crafts
Light Bulb Snowmen from Lady with the Red Rocker 

Have a great rest-of-the week and stay warm! :)

Now on to this week's JAQS Studio "Made by ME" Linky Party:


Quick rules and all that boring stuff:
  • Share whatever new projects you've completed since last week - if picked you will be feature next week
  • Visit some of your blogging friends :) - we all love comments!
  • Grab the button below and share the fun 
  • and not really a rule, but it will be great if you follow JAQS Studio ;)

LinkWithin

Related Posts Plugin for WordPress, Blogger...