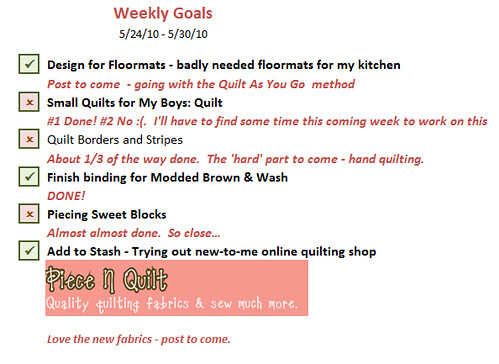
Monday, May 31, 2010

Weekly Goals May 31 - June 6

This week's Weekly Goals...
may31_2010
Haha notice that about half of the goals from this week are finishing up goals from last week.  Life - kids, the 9-5 job and everything else came in the way.  Most of the distractions - besides the job - were a consequence of beautiful pre-summer weather.  After a whole week of wet yucky weather we finally got some nice weather the last few days - just in time for a beautiful Memorial day weekend.  The kids - and us - wanted to be outside all the time...and we did.

Well anyways - so I'm a little behind on my projects.  No big deal :) - I'm my own boss at this right :P.

This week is mostly going to be finishing up projects from last week 'cause this was the results from last week:
may24_2010_u

Also another thing - I'm going to be out of town 2 days this week - a work trip to Texas.  So finishing up this week' goals will be a little tricky also...

Sunday, May 30, 2010

Sew Sew - Snip Snip

Sweet Blocks Continues On:

Sew Sew:
IMG_4578
Each corner triangle is sewn onto the square.  Pins are removed along the way.

Snip Snip:
IMG_4584
After triangles are down on, cup 1/4" along the seam out.  The block is now ready for some ironing and sashing.

Blocks awaiting the pressing/ironing line...

IMG_4585Resisting Memorial Day sales tomorrow so hopefully I could make some progress in this quilt.

The Slow Road to Fabric Organization

After struggling with trying to figure out which fabrics I had, how much, and even where in the house I have it at, I finally got fed up with it?  Meet the new me - at least the new me when it comes to Fabric Organization!

IMG_4598

What is this?  It's a tag - made from stiff scrapbook paper (no I don't scrapbook but I do love the papers though :P, label sticker with the fabric into (including yardage), a lovely little piece of ribbon, and a safety pin to pin it to the fabric.  And voila!  One step closer to organization - I hope.  Well it can't be worse right?

The tools:
IMG_4593
Safety pins, cut up ribbons, cardstock paper cut.  Not pictured but equally needed: magic tape and shipping labels.

After a little while of cutting tags and sitting up my Access database to keep an electronic version of my fabric stash I got 6 fabrics labeled and accounted for:
IMG_4595
This is already making me smile and happy anticipating an organized fabric stash.  BTW - more info on the fabrics later - hint it's my next stash from Piece N Quilt.

Hopefully I could get the rest of my fabrics organized in the fashion - or at least die trying!  Just kidding.  But I do really hope that this makes me remember the name of the fabrics so when people ask where I got the fabric or what it is - I could then reply "It's Essence Fall Flowers from Piece N Quilt - it's another Moda fabric". :)

I'll update - hopefully not too long from now - on my completely organized Fabric Stash.


Saturday, May 29, 2010

I Am Inspired

Instead of doing a mushroom motif for my new kitchen floormats I've decided to try out the 'Quilt As You Go' that was shown on Red Pepper Quilts:

Picture from Red Pepper Quilts:


This technique will make a great template for my new kitchen floormats :).  I'll eventually want to make a big version for a big quilt, but I will take it slow with a teeny tiny one :P.  More info to come - just wanted to share this new-to-me technique.  Can't wait to start.

Thursday, May 27, 2010

Modded Brown Completed!

Binding Complete!  Modded Brown is washed, dried and ready for it's new home!  Right now it's right here but it'll probably find a home with my sister soon.

IMG_4563
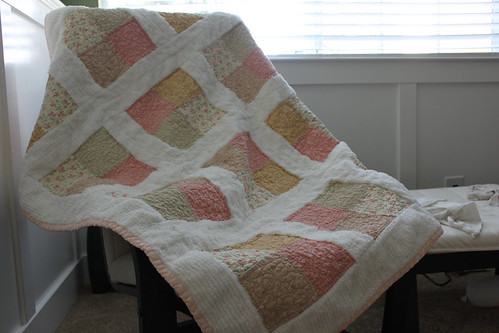
Sitting pretty in my son's room.  A front view.

Modded Brown as been a work in progress since the beginning of April.  It's been almost 2 months since the design stages of this quilt and now it could finally be called completed.  Here's a view of the full front and full back of the quilt.  Sorry about the lighting.  It's been nasty and rainy here in Northern California the last few days and I don't have a chance to get good lighting inside and not willing to get this quilt wet by going outside.  Hopefully the flash and the little bit of light coming through the window will be enough.  Most of the pictures I was able to put right next to the window for some nice shots :).
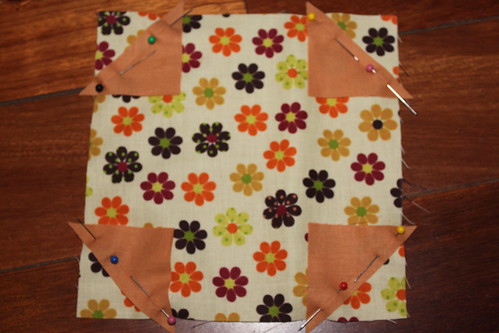
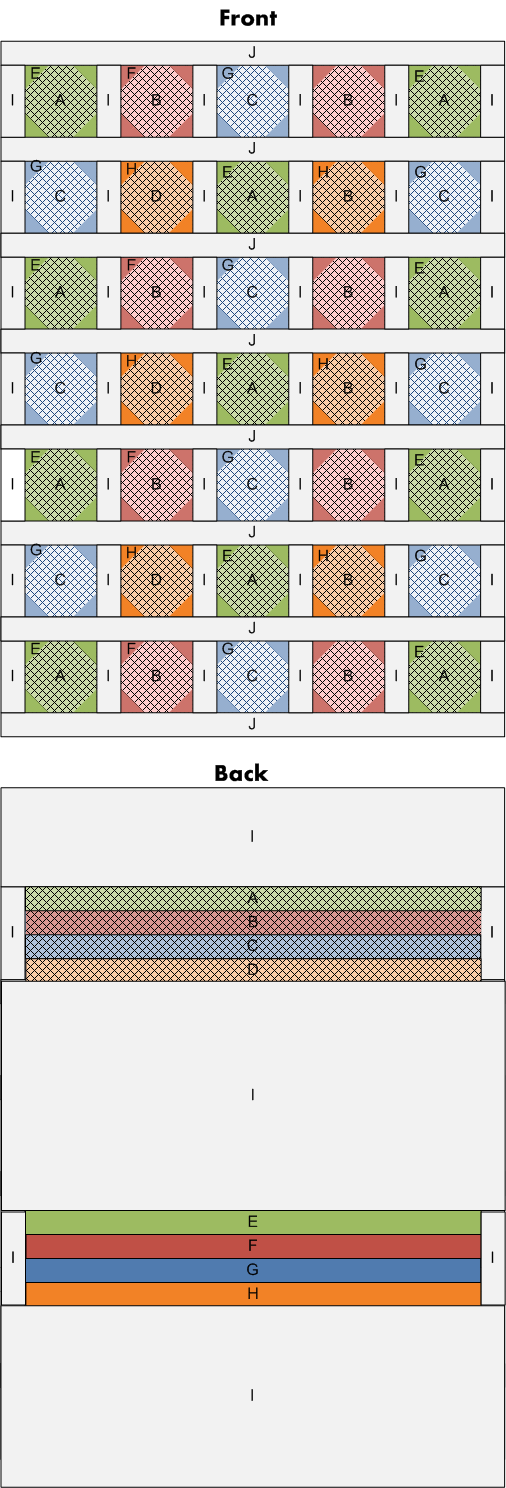
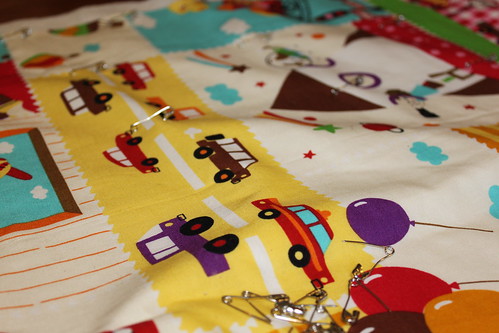
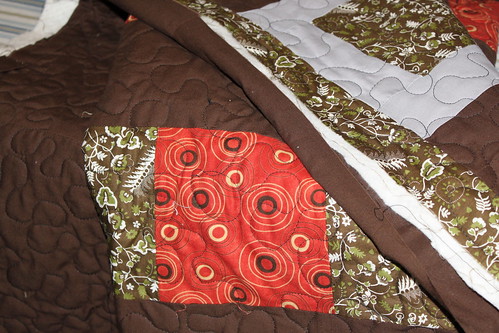
The quilt front:
IMG_4542
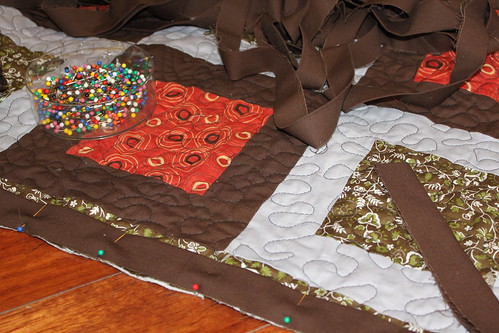
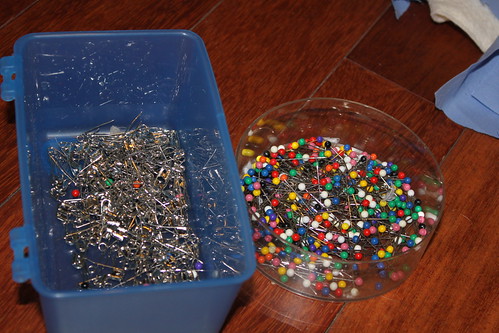
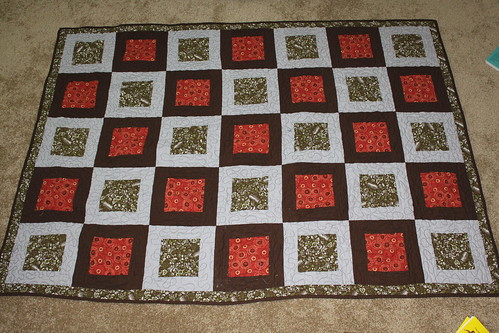
I had to take some quick shots of the floor while my two sons were inching to climb on the quilt!  Haha talk about working in harsh conditions :P.
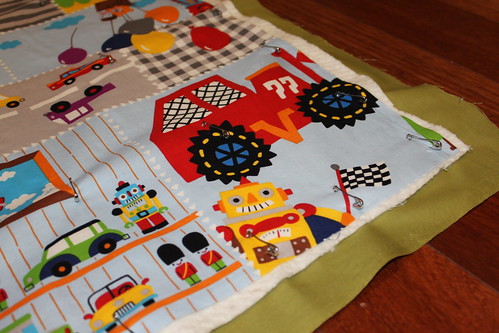
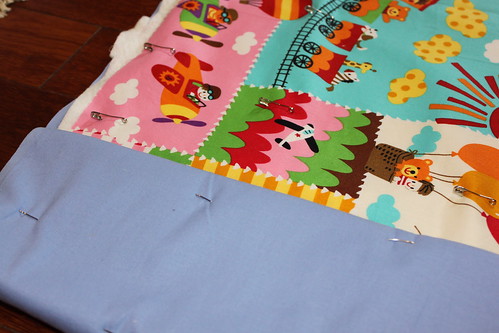
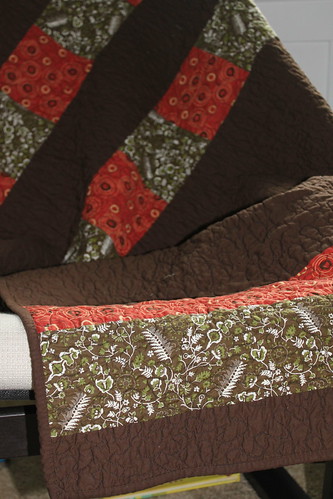

The quilt back:

IMG_4544
Definitely did not show up will with the lighting.  I actually really really like the quilt back...maybe even more so than the front.  In person the color strips really shows and it looks really awesome against the brown.

Here's a few shots to show off the quilt a bit more :)

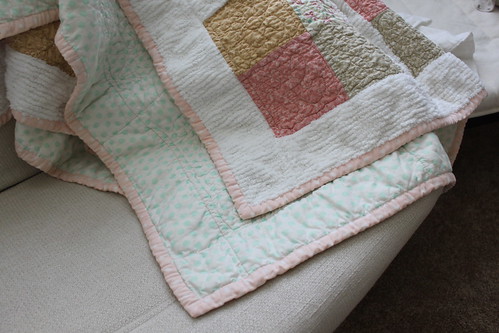
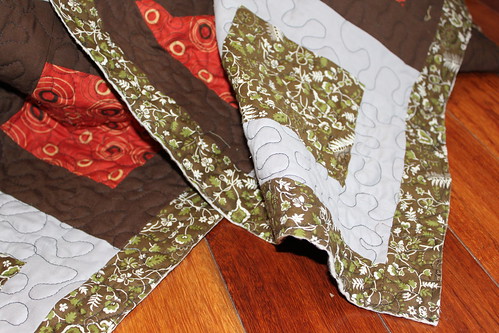
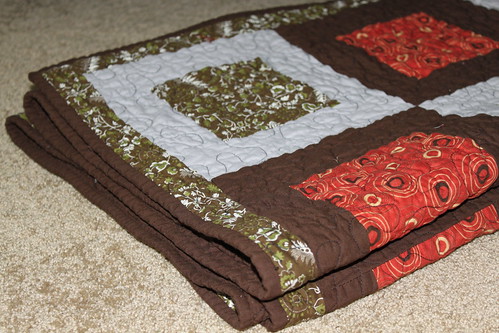
The back and front of the quilt together:
IMG_4572


 Another view of the beautiful back:
IMG_4571

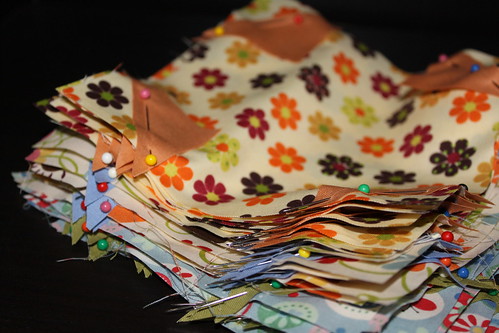
Folded and ready to go:
IMG_4549

I really enjoyed making this quilt and I think it turned out pretty darn good :).   Definitely will be trying this design with a few more color schemes.  I hope it finds a good home soon.

I'm also sharing this completed quilt on Amy's Sew-n-Tell Fridays:
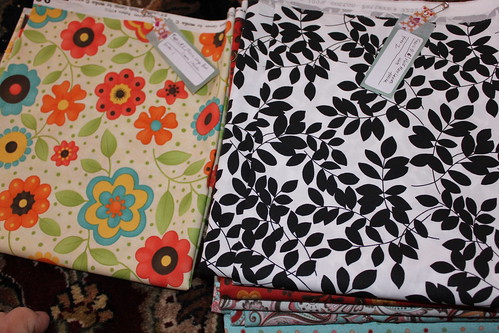
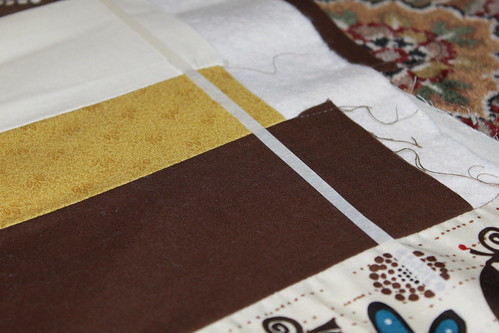
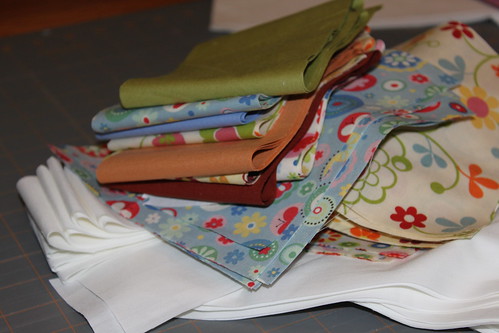
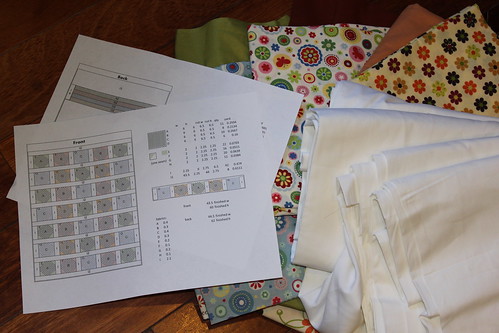

Quilt Info:
Modded (Brown)
Front: 100% Cotton Print Fabrics
Batting: Warm & Natural 100% cotton
Backing: Same solids and prints as the front
Completed Dimension: ~47"x60"
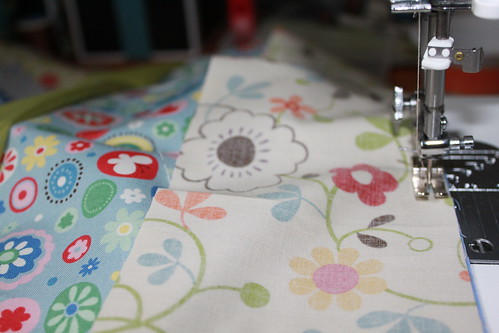
Quilting Method: Free-Motion Machine Quilting
Binding: Machine Sew to Front and Hand Sew to Back

Sweet Blocks - A Whole of Pinning and Sewing

My first time dealing with triangles and it's turned out to be a lot of work but the results are pretty satisfying :).  I've been spending the last couple of nights doing this:
IMG_4541

Now I have my stack of blocks ready for the sewing machine.  How did the pinning go?  It was a bit tricky cutting the triangles onto the squares correctly.  I had a brain freeze the first few times trying to figure out how to put on the triangles.  But I finally got it working ...
IMG_4540
Triangles on each 4 sides of the square.  I pinned it down with 2 pins each and it actually worked quite well once I tried to sew a couple of these up for testing.

I got most of the squares all pinned and now I could finally get to sew the blocks together.  Yeh!
IMG_4539
Pictured is about 75% of the blocks ready to go.  I have a few more to go but now that I got the hang out it hopefully it doesn't take me as long as the first few.

I also got a chance to piece together some of the quilt backing too.
IMG_4537

Wednesday, May 26, 2010

Borders and Scripes Ready for Quilting

A quick cleanup of my rug and the Borders and Stripes quilt is back on it for the quilt backing and basting.  Maybe I was not in the mood or I got used to putting together the baby quilts but this turned out to be quite a lot more work than I expected.

But after what seemed like forever I finally got the quilt bottom in place with the batting and quilt top.  Here's a glimpse of it as I was unrolling the batting and quilt top onto the quilt backing.

IMG_4531
Whee! I thought I'll never finish this process!

After I got the whole quilt assembled and ready for the pinning I realize that the edge of the quilt was quilt uneven.  I guess I was pretty careless while measuring out the width of the quilt since it was all horizontal stripes.  No matter, it could all be trimmed away without causing any difference in the design of the quilt  - since it was all horizontal stripes after all.

But I never feel comfortable about cutting away at the extra material around the quilt until after quilting - well unless there's an excessive about of material which was not the case here.  So I decided I'll outline where I want the quilting to top and where I would eventually trim, with some quilter's tape.

Here's a closeup of the tape work I did to make sure I know where to trim later.
IMG_4533
Some spots barely need any trimming, but others like the area pictured here needs about 1-3 inches of trimming.

Why am I taking the time to do this?  Well I'm planning to quilt some decorative lines into the quilt and I want to make sure that I don't cut into my hand quilting area.  As you may already know, hand sewing/quilting is not forgiving when it comes to cutting.  You DO NOT want to cut into the middle of any hand-sewn stitching as it will cause the stitch line to unravel.

Well the quilt is all pinned and ready for quilting.  I'll put that off till next week :P.

Tuesday, May 25, 2010

Inspiration For the Kitchen Floormat

I'm inspired....

super-mario-mushroom-ring

AND....
469f28e005ba44.36175390frogview-gallery

I found these pictures online - so pretty.

Now I have a direction to go on what I want to do with the kitchen floormat design :).  Still need to write up a design draft but at least now I have a starting point.

Monday, May 24, 2010

Quilting Drink of Choice

What's my drink of choice when I'm quilting?  Actually it's my drink of choice when I'm not quilting either :P.  A tall glass of Iced Vanilla Latte.  Just talking about it makes me want to grab another one - can't it's already 9pm and I'll be up all night if I give in.

I picked up an espresso machine from Costco a couple of years ago - Saeco Barista.  It's made a very reliable cup of coffee since day one and it's still going strong.  How I make a Iced Vanilla Latte at home?

  1. Fill glass about 2/3 full of ice.
  2. Pour in milk - a little over 1/2 full
    IMG_4516
  3. In a small bowl - add in about 2 teaspoon of Vanilla syrup - I use Torani
  4. Put in about 2 shots of espresso - about 3-4 ounces
    IMG_4517
  5. ENJOY with a straw and continue on with the quilting!
    IMG_4519
I usually use a 12-16oz cup.  Of course I adjust the volume of each ingredient based on mood :).

Oh yeah pictured above are my new favorite tumblers.  They are from a company called Vessel Drinkware and they have a huge selection of these acrylic tumblers with straws.  They are 16 ounces and ultra cute!  I couldn't resist.  I picked it up at Whole Foods Market but I think they sell it online and also in other stores as well.

IMG_4515
This is actually my SECOND one.  I got another one that is gray with a skull on it.  But I thought this would be a little cheerier when I'm quilting :P.

    Sweet Blocks - Cut and Ready

    The cutting process for Sweet Blocks took WAY longer than expected.  With some unplanned end of the week activities, a busy weekend, and a couple of cranky kids it was near impossible this week to finish the cutting for this next quilt.  Thankfully by Sunday night I finally got a chance to finish it up.

    The Sweet Block's Stask:
    IMG_4529

    Here was the stash pre-cut sitting in my living room for a while waiting for some TLC:
    IMG_4502
    The design was printed and ready.  The fabric was picked and ready.  Me, NOT ready.

    All the design prints are from Moda fabrics - Keiki Tweet Tweet and Momo Freebird.  The solids are Moda Bella solids in white and others from the order at Fabricworm.comAgain, I am working on keeping track of fabrics a little more closely, but struggling with it as usual :P.  I just love fabrics and if it's pretty, high quality, goes with the design of the quilt I will not hesitate to us it.  So, I do use fabrics from sorts of designers and collections in the same quilt.
     
    Another reason that I forgot to mention, was it was my first time cutting triangles for a quilt. As you can see from the design below, there are quite a few triangles to tackle:
    SweetBlocks

    There's a total of 140 triangles.  I guess it's not a huge amount but it was for me - a newbie when I comes to triangles.  Here's how I went about cutting them:
    IMG_4525
    I cut squares out first and then cut each of the squares in half diagonally.  Each square gave me 2 triangles.  Hopefully I have the measurements correct for attaching it the quilt....

    I can't wait to get this quilt pieced together - a big part of it is that I want to see if my design measurements worked out :P since this is my first quilt with triangles.

    Sunday, May 23, 2010

    Adding to Stash & Week's Goals

    http://quiltsbyq.blogspot.com/2010/05/scrappy-pillow-1-done.htmlA pretty uneventful addition to The Stash the week.  I didn't have time to order online so I just picked up some solid colors at the box store - Joanne fabrics.

    IMG_4500
    Like I said nothing eventful.  They're just some solid Moda cotton that I picked up while out running other errands.  I'll have to make up for such a bland addition to The Stash this coming week :).  FYI I'm not a big fan of Joanne's for print fabrics.  They're good when you're in a crunch and need something simple - like the solid colors.

    So, along with some other Weekly Goals for the upcoming week I will HAVE to had additions to The Stash as one of the goals.
    weeklygoals_may24_2010

    It's going to be a little tricky trying to complete the upcoming goals because I'll be out of town and unable to do any actual quilting for 2 days this week.  Maybe quilt like mad for the days that I am home and work on designing the next projects while I'm on the road??  I decided to put the design of my kitchen floormats in the goals for this coming week so I have something to work on while away from my sewing room.

    The results of last weeks goals:
    weeklygoals_may17_2010_results
    A little bit better than the previous week's results.  Notice that I didn't even bother putting Patchy Pillow #2 on this coming week's goal.  I know I will be able to work on it....or have the desire at this point.  I guess I'm just really enjoining Patchy Pillow #1 and don't really have the need for two of them at this point.  I'll try to finish up very soon though.  As much as it does happen, I try not to have unfinished projects floating for too long.  The longer it gets, the lesser the chance of it being finished.

    Saturday, May 22, 2010

    Another Great Way to Recognize Great Quilters: Blogger's Quilt Festival

    I'm kind of new to the quilter's world so I've never heard of the Blogger's Quilt Festival. 


    Unfortunately I don't have time to make a new quilt in time for the Festival but I decided to join in the fun anyways by posting about the Baby Rose quilt I made a few months back.  I really enjoyed making this quilt even though it made a complete mess of my living room.

    The quilt was for a close friend of mine named Rosalyn...aka Rose.  I had the honor of being her maid of honor in her wedding and got to share a big part in her life.  When she announced the pending arrival of her first baby, a baby girl I knew I had to make her something special.  Before then I have made a few quilts but wasn't that experienced yet.  I didn't want to make something to elaborate and risk missing up this special gift.

    So, I went with a simple design but added the chenille fabric for sashing for that special flair.  The messy part was the cutting.  The chenille fabric was MESSY.  And it made everything messy until the quilt top was assembled and sandwiched.


    The STACK when all the fabrics were cut.
    IMG_3168

    To the finished Baby Rose quilt.
    IMG_3307

    IMG_3305

    After finishing this quilt, it solidified for me how much I love to quilt.  It made me realize that of all the crafts and hobbies I have tried in the past, this is one that will always be a part of me.  BTW, Rose LOVED the quilt. 

    So extra cheers to the Blogger's Quilt Festival for providing this great opportunity for quilters like me and others to share our work.

    Quilter for Life :

    Good Old Binding & Now I'm Family Clown???

    Last step in the Modded Brown Quilt - binding.
    IMG_4483
    Hopefully I could get the handbinding down by... hmmm...eventually???

    And apparently I am now the family clown.  Well I don't wear the silly nose or put on the clown costume but I am getting quite familiar with the balloon arts...
    IMG_4413
    This is the latest creation - Flowers with very long stems.  I sometimes also fold up the stems to make leaves.  The kids love watching me make it, loves to play with them, and they're relatively cheap.  Once it goes a little flat it gets tossed.

    Here's also enjoying the latest additions to our living room:
    IMG_4417
    Each flower machine takes 2 long balloons.  I pump up the stem first, make a little nub for flower center.  Then with the other balloon, fold it into 5 petals and connect it to the stem. 


    Took a little trial and error to get the petals to be even ... and for the balloons to stop popping.  Did I mention I have this fear for balloons popping?  Well I got over that one by this point :P.


    IMG_4418


    So what have I made so far in the world of balloon art?  Not that much - hearts, different flowers, Mickey Mouse ears, chains, palm tree (that one is a bust), and the ever popular sword.  Haha just something to keep the kids entertained.

    Friday, May 21, 2010

    A Whole Lot of Baby Quilt Pinning

    Today was an evening of quilt sandwich assembling and basting.  That pins out with the safety pins.  What's being pinned?  The 2 quilts I'm making for my boys.

    So out with the safety pins and pins:
    IMG_4490
    I didn't get all the safety pins in the picture before I pinned...arg.  But the blue container on the left is usually about half full with safety pins.

    First Asher's quilt:
    IMG_4487

    Then Silas':
    IMG_4497

    I absolutely adore these 2 panels - they each feature objects that my sons love the most: robots, balloons, cars, books, bikes, and the outdoors.  What more can a kid ask for? :P

    The 2 quilts are rolled up and ready for the quilting machine.
    IMG_4489
    Hopefully I get to it next week.

    Thursday, May 20, 2010

    Quilting Complete!

    I'm proud to say that the quilting for the Modded Brown is complete!

    And the results?  Pretty nice is I do say so myself :).


    Glimpse of the finished quilt:

    IMG_4474

    After I complete the quilting I like to sew - with long stitches, along the quilt about 1/8 away from the raw edge.  This ensures that all the layers are down tight before I start sewing on the binding.  It's one less thing to worry about.
    IMG_4476

    A quick trim with the scissors to remove all extra fabric from the edges and to make sure everything is straight:
    IMG_4478
    Love the clean edge of the nearly trimmed quilt.  Gives it an automatic finished look.  It's so neat that sometimes my boys start using the quilt at this stage before I could put the binding on :P.

    Now the quilt is ready for attaching the binding :).  Another Weekly Goal - COMPLETED!
    IMG_4481

    LinkWithin

    Related Posts Plugin for WordPress, Blogger...