Saturday, October 30, 2010

The Green Gift Wrapping: Week 4 of the 12 Weeks of Christmas

Spreading some Holiday joy and being environmentally friendly could be a challenge sometimes.  If you have kids or just love presents during Christmas you are well aware of the massive amount of paper and plastics used to make those presents look extra special.  Well - why not wrap them with something reused or reusable and help reduce the amount of waste we put into the landfills each year?

Each year for the holidays, I try to do something Green and help do my part in preserving our planet's resources.  This year I'm re-purposing old Christmas cards and using odds and ends from my quilt scrap pile to create finishing touches on Christmas presents.

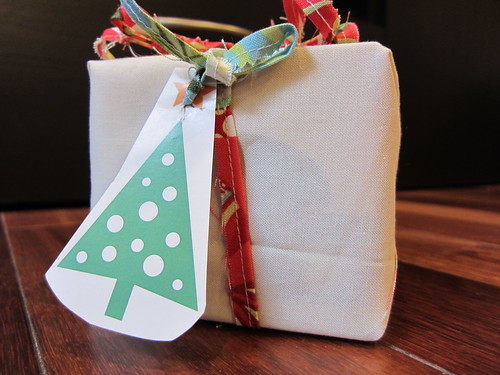
The Green Gift Tag - Re-purposed from an old Christmas card:
IMG_0027
Cut up those old Christmas cards.  They come with nice Christmas images all ready to be reused and enjoyed again.  Cut it to size and string with a ribbon.  Make sure the back has enough space for names.


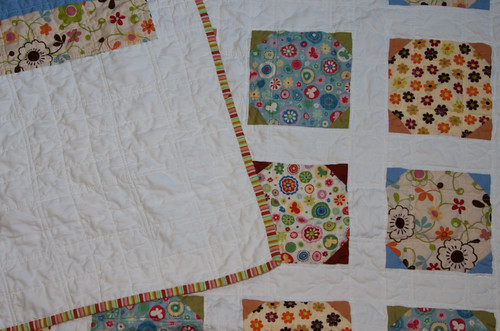
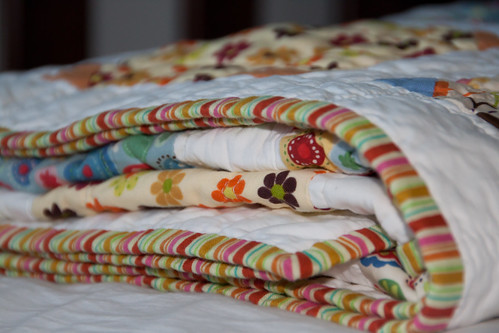
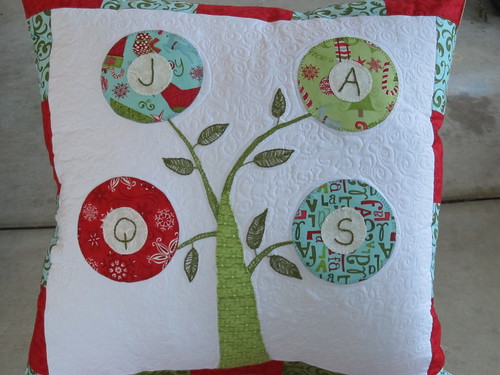
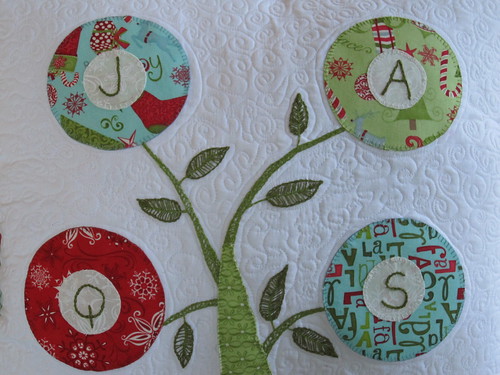
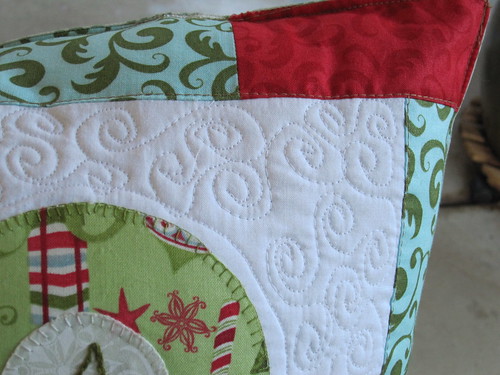
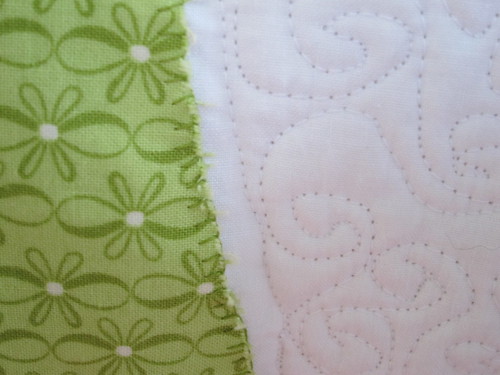
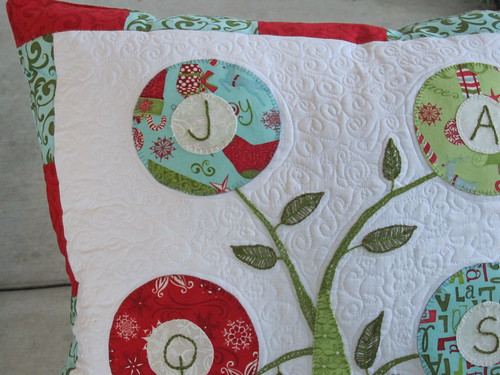
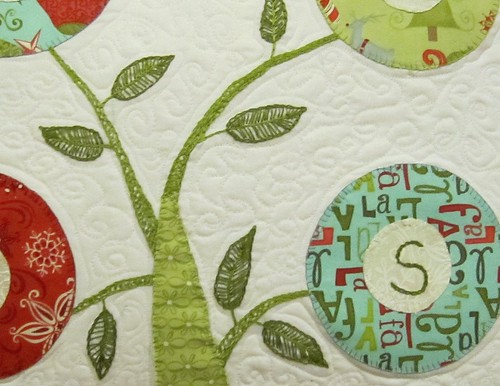
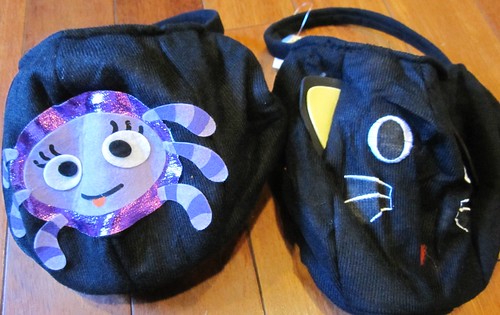
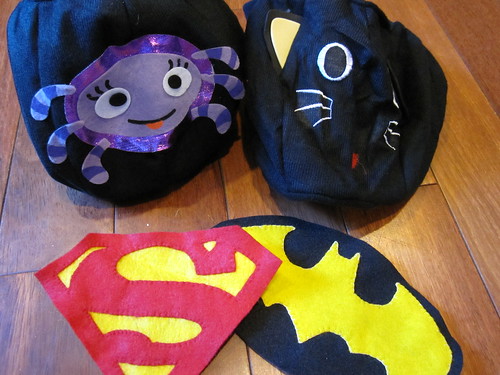
Gift Wrap Made from Scrappy Fabrics - Completely Reusable for that special gift receiver:
IMG_0031_2
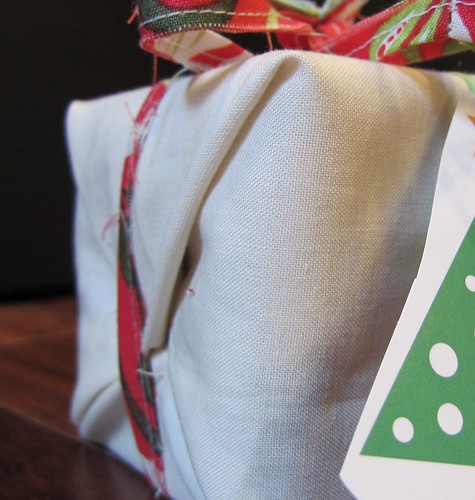
Perfect solution for a small gift.  Use those small pieces of fabrics lying around in your scrap box - a double present for fellow quilters and crafters - fabric to use and a present inside :).


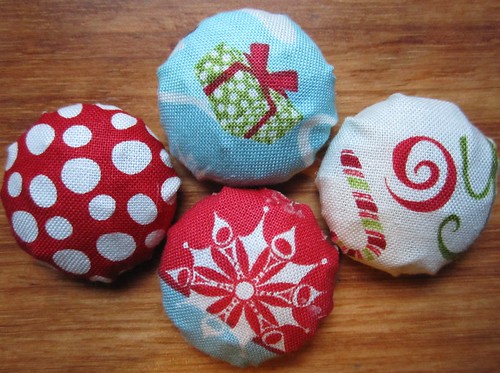
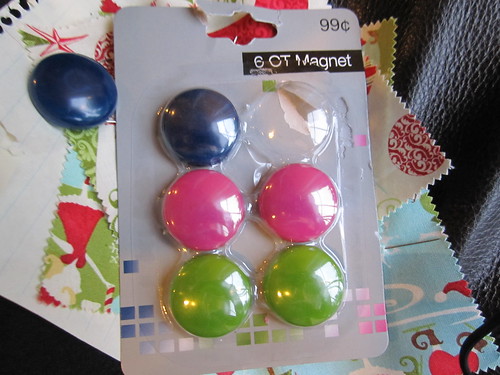
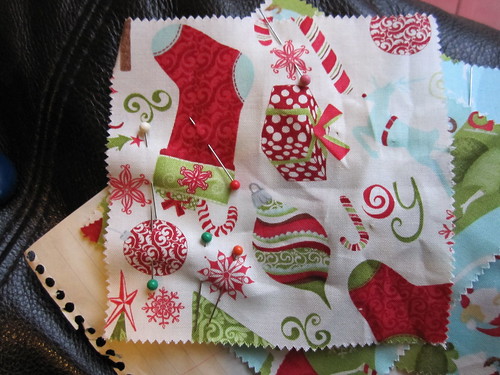
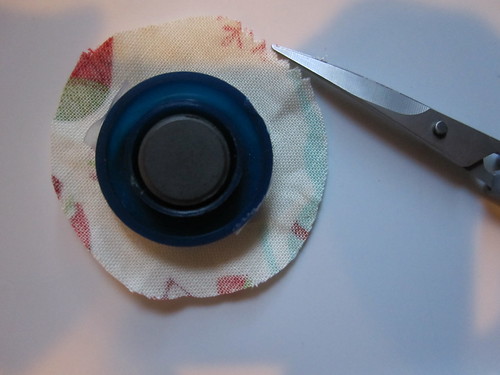
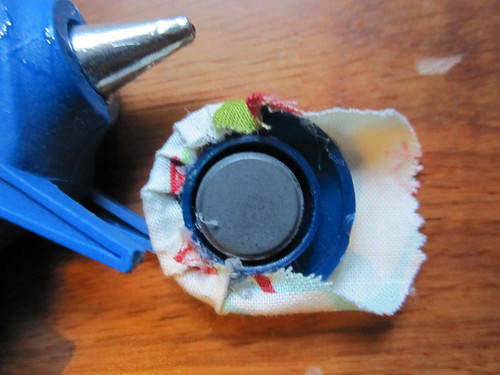
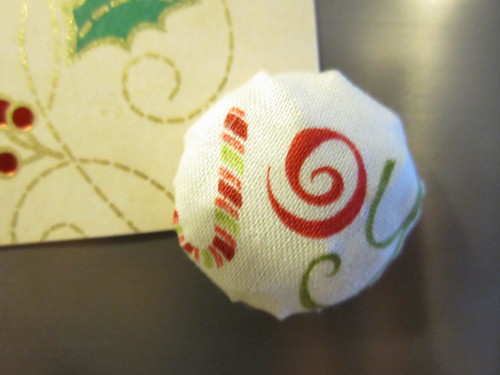
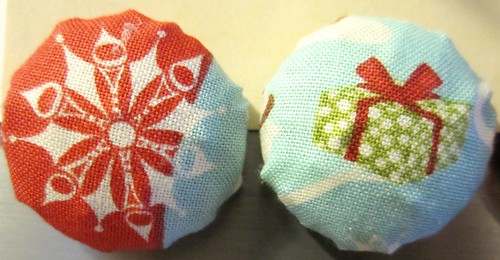
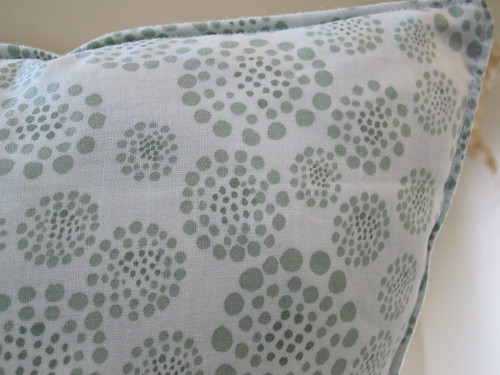
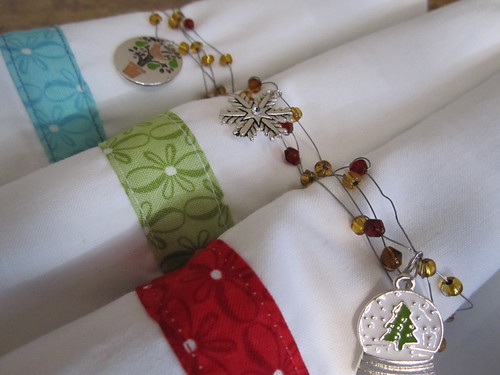
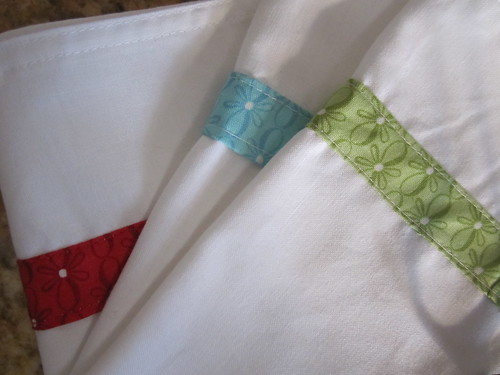
Fabric Ribbon - Reducing the amount of 'New' material by using Fabric Scraps:
IMG_0023
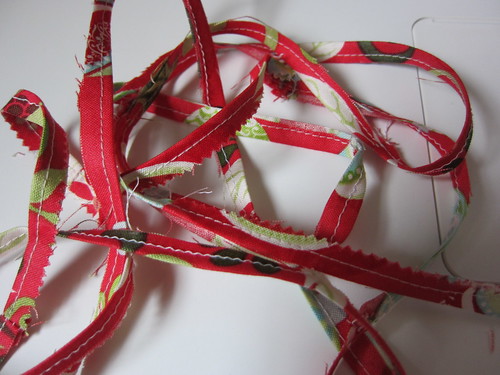
A good way to use up scraps from the fabric scrapbox.  Use fabrics that have nice bold colors to add an extra pop to any present.  For this ribbon I used the 12 Days of Christmas Moda Charm Pack fabrics.

You could use these separately as an added green touch to any present, or use them ALL together to amaze your family and friends on how Green Christmas giving can be :).

IMG_0030

However you decide to celebrate the holidays this year, remember to be mindful of what you're using and where it ends up after being used. 

Thanks for visiting JAQS and I will be sharing these Green Holiday Ideas at THESE great sharing parties.

Sweet Blocks For Quilt Festival

One of my favorite quilts this year is the Sweet Blocks quilt I made a couple of months ago posted here.

IMG_6500
Here's the completed Sweet Blocks sitting sweet after a tumble in the washer and dyer.

A few things about this quilt stood about this quilt -
  • It was my first time using triangles in a quilt
  • The color scheme - bright colors that are a bit more 'girly' than I'm used to 
  • Finding the quilting pattern for this quilt was the most difficult part for me.  I finally settled for straight lines with some definition
  • It's my husband's favorite quilt this year :)
Those reasons and the fact that I too love this quilt is why I'm sharing it on Amy's Creative Side's Bloggers Quilt Festival:
Amy's Creative Side - Blogger's Quilt Festival


Here's some snippets from the original post:

Here's a closeup and the reason why the decision on 'how-to-quilt' took so long:
IMG_6515
I've never made a quilt with triangular shapes before. It took a lot of work getting all the triangular corners just right so I didn't want the quilting to distract from it or take away from it. 


I finally decided to do simple straight line quilting from one end of the quilt to the end with both the width and the length: along each seam going along the exterior of each block and 2 side-by-side lines x 2 down for each block area.  The results was a very modern, clean quilt with just enough details but not too much to distract from from the fabric and blocks.
IMG_6565
Here is the quilt top that you could see quilting in action.  If you look closely you could see that on each block there are 2 double stitches that goes down and across.


Another view of the front by the window.  Love this shot because it really shows the true colors of the quilt:
IMG_6540

For the binding I used a striped fabric - sorry I don't recall the name unfortunately.  I was a little hesitant to use it since it was so bright but when it was put next to the quilt it worked out just fine :).   The colors matched up wonderfully with the playful colors of the blocks.
IMG_6544

A peak of the front, back and binding together:
IMG_6558

I love this quilt.  It's not in the scope of colors that I usually use, but sometimes it's nice to step out of the comfort zone right? :)

Nope, this quilt does not have a home yet but it is not for sale either.  I may work on another one to put up on Etsy but for now this will have to be the only one.

IMG_6538


Quilt Information:
Sweet Blocks
Front: 100% Cotton Prints (Keiki) and Solids (Moda)
Batting: Warm & Natural 100% cotton
Backing: Same materials as the front
Completed Dimension: 44.5″x 62″
Quilting Method: Machine Quilt Straight Stitches
Binding: Machine Sew to Front and Hand Sew to Back

Wednesday, October 27, 2010

No Camera...

I had to return my camera recently.  New one in the mail, but that leaves me with no pretty project progress to show :(.  Haha I don't think anyone wants to see my handy camera phone skills :P. 

Project process and continuation of the 12 Weeks of Christmas to come... promise.

Friday, October 22, 2010

Red Poppies in the Horizon

I am inspired:


As a native Californian I have been seeing orange Poppies my whole life.  I don't know why I have not noticed these red ones until recently :P.  Well - it was love at first sight.  I knew I must do something to incorporate these red poppies into a design.

So here goes my first Red Poppy quilt. 


Don't mind the messy Poppy flowers- promise that it'll be more 'refined' by the final design :).  I can't wait to get started on this project.  More progress to come...

Tuesday, October 19, 2010

Week 3 of the 12 Weeks of Christmas - Holiday Magnets

One of the things I struggle with every year is a good way to display Christmas cards.  In our first place we had a chimney mantle, the second place we had a staircase.  Current place: nothing.  Limited wall space, one story home and no mantle on our fireplace.  So what do I do with my cards this year?  What about the fridge?  YES!

So on with the next Christmas project: Holiday Magnets ... and course using my handy Charm pack of 12 Days of Christmas from Moda fabrics.

What about something like this? :)
IMG_0287

This is how I made this:
  1. Start with a packet of magnets. I got these at CVS Pharmacy a while back.  It has a nice round button top with a nice size magnet on the back.  $0.99 for 6.  Not bad :).
    IMG_0271
  2. Using double sided tape - or sticky thing you have around thing house - cover a good portion of the top with it.
    IMG_0276
  3. Pick a nice print that would fit on top of the magnet button and place the tape side down on the WRONG side of the fabric
    IMG_0272
  4. Cut around the magnet button about 3/5" - this on your magnet button.  You want to make sure you could wrap it around the button without covering the magnet on the other side.
    IMG_0278
  5. Using a hot glue gun, squeeze some hot glue on the wrong side of the button and fold the fabric over.  Go around the whole button, carefully folding over a little bit of the fabric at a time - making sure the glue holds it nice and tight.
    IMG_0282

    Completed:
    IMG_0284

IMG_0290

There you have it - a nice little holiday touch to a plain little magnet.  Right now it's being used by my little boys as play chips, magnets for their play fridge and ... hmmm now it's gone... hopefully I'll find it again when we start getting Christmas cards :P.  I'm going to get some more magnets so I could get at least a dozen of these going by Christmas time.

Here's the first 4 I made:

IMG_0292

Can't wait to do more of this...once I get some more glue for my glue gun - again I blame my kids for 'misplacing' them :P.

IMG_0291_1

Thanks for stopping by and I hope you find creative ways to show off your Christmas cards this year.

See more of the 12 WEEKS of Christmas Projects - links also available on the top left corner of this blog :).


Week 2: Holiday - Family Pillow
Week 1: Holiday Napkins


I'll be sharing this little creation at this wonderful Linking Parties.

Wednesday, October 13, 2010

Week 2 of the 12 Weeks of Christmas - Pillow!

If you know anything about me, you would know that Tradition is very important to me. A big component of tradition is having things in the family that we could remember for years - if not generations - to come. That's why I am so happy about the outcome of the Holiday Pillow.

IMG_0255

This will definitely be a keeper in our family to come.

Each flower is embroidered with each of our family members' initial: J.A.Q.S.

IMG_0263
A closeup of the initials. One for each one of us :). Haha does that mean no more kids :P???

The edge is framed with strips from the Moda 12 Days of Christmas Charm pack - each square cut in half (5" x 2.5") and sewn along each side of the pillow. As a batter of fact, all the color fabric, excluding the back, is from the Moda 12 Days of Christmas Charm pack.
IMG_0260
A top view of the pillow frame.

The whole pillow top, minus the appliques are quilted with swirls to match the swirls of the frame Moda fabric:
IMG_0256

The back of the quilt is kept simple by a single fabric from Bryant Park:
IMG_0258

The appliques are raw-edged hand sewn own using blanket stitches.

Here is a closeup of the family tree trunk:
IMG_0268
I decided not to use webbing on the tree trunk so it started to fray it a little around the corners - nothing to worry about but just enough to create a very nice rustic look to the tree trunk.

A closeup of a flower:
IMG_0252
One larger circle and one smaller one make up this simple 'flower'.

I hope this pillow inspires you to start your next Holiday tradition or at least a fun little addition to your holiday decor. I know I had a lot of fun making it and it will be a treasured piece in our household for a very long time.
IMG_0262

Thanks for visiting the 12 Weeks of Christmas - Week 2 :). Can't wait till the next project!

BTW - I am will also be creating a tutorial for this project.  Stay tuned :).


Sunday, October 10, 2010

Holiday Pillow - Minor Delay

A bit of distraction and the weekend passed by way too quickly - sadly I didn't get the correct lighting to day pictures of Week 2 of the 12 Weeks of Christmas - PILLOWS :).

But here's a glimpse of the finished project just to proof that I did get it completed :P

IMG_0241
A not-so-great picture of the Holiday Pillow to come.

More to come tomorrow once I get the nicer pics in place...

Wednesday, October 6, 2010

Halloween Costumes Continues: Trick or Treat Bags

To accompany the boys' Halloween costumes as Superman and Batman I decided to put together these:

IMG_0128_1

Their very own Superman and Batman Trick-or-Treat bags of course :).

The idea started when I was at Target over the weekend and ran into these cute little trick or treat bags:
IMG_0070
Unfortunately I didn't get good shots pre-modification. One is a spider modif and the other a cat.

Cute but doesn't match the boys' costumes ... but for $1 a piece and knowing that I'll have to make them SOME sort of bag I decided to get them anyways.  That's what extra felt and some creativity is for right? :P


So remember these extra Superman and Batman felt patches from the cape?
IMG_0068

They will be put into good use after all. A quick little picture tutorial of what I did to make the patches (I mixed pictures from the Batman and Superman patches to show each patch in progress):
  1. Use parchment paper and trace logo from a t-shirt or other source.
  2. Pin along - but NOT directly - on the traced lines onto the felt
    IMG_6713
  3. Cut along lines
    IMG_6719
  4. Do this for both the colors for each patch accordingly
    IMG_6720
  5. Then pin the top colors (red for Superman, yellow for Batman), on top of the bottom colors (yellow for Superman, black for Batman)
    IMG_6716
  6. Blanket stitch along all edges where the top edge covers the bottom piece
    IMG_0131

As for the bags, I just took scissors and some good ol' fashioned muscles then off comes the little spider and cat - leaving plain black bags. There was some remnants I couldn't remove but the patches covered it right up.

Once the bags were ready, I stitched the patches straight on each one and voila! Easy-peasy Trick or Treat bags for my Superman and Batman:
IMG_0142

Perfect size openings on top for both my little guys - haha Oh I do wish they get healthy treats like these when the day comes :P -
IMG_0139

Happy TRICK or TREATING!

I am sharing this project with these fun linking parties :).

Monday, October 4, 2010

Week 1 of the 12 Weeks of Christmas - Napkins

Holiday Napkins & Napkins Rings 


Holiday napkins are an easy way to bring the holidays to any holiday table.  I like to keep mine simple so that it could be used year round if I wanted to.  I put extra flair on it during Christmas with a holiday napkin ring. 


A simple but elegant way to make your dinner table a little more festive for the holidays.  These napkins are crisp and ready to use:

IMG_0079

Without the napkin rings, these napkins are discrete enough to use year-round so you don't have to hold off till the holidays to use these. I hate having a bunch of seasonal items around the house that we only use once a year.
IMG_0081
A nice additional to the table any time of year.


A detailed Tutorial for these Holiday Napkins is found here.


Happy Week 1 of the JAQS 12 Weeks of Christmas! 

LinkWithin

Related Posts Plugin for WordPress, Blogger...