Monday, September 27, 2010

12 Weeks of Christmas: Join In!

Hi - This year @ JAQS I'm counting down the 12 WEEKS of Christmas


Each week leading up to the big day will be a new project inspired by the holiday season.  We're starting the 12 WEEKS of Christmas with the week one starting October 4.  So come join in the festivities with your own creation for each holiday inspired project or come get inspired.  Either way there will be lots to see and lots to do.  Linkies will be available starting the first day of each week to show off YOUR on that week's project.  All Linkies will stay open until the big CHRISTMAS Day.

Here's a breakdown of the weeks and what project I will be working on.

           Holiday Napkins & Napkins Rings
Holiday napkins are an easy way to bring the holidays to any holiday table.  I like to keep mine simple so that it could be used year round if I wanted to.  I put extra flair on it during Christmas with a holiday napkin ring.

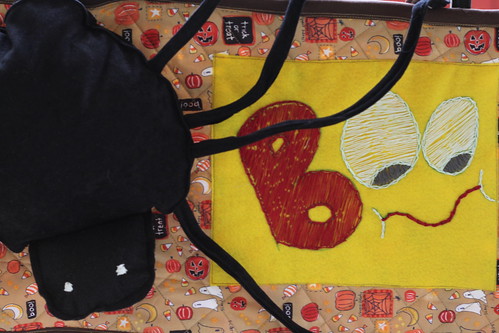
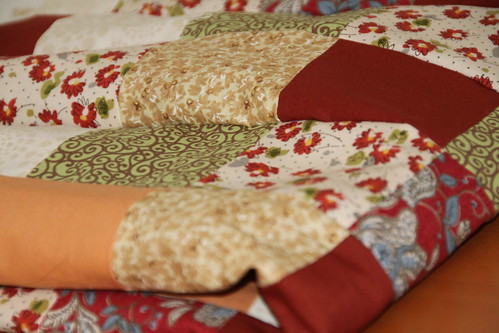
          'Twas the Season Pillows
Something small but adds a lot of holiday cheer to any room.  This is a great way to show off your sewing skills without spending a lot of time on a big project.

  • 3rd Week of Christmas: Oct 18 - Oct 24
               Magnet Christmas Card Holder

If you're like me you are always looking for a way to display Christmas cards.   These Christmas magnets will do the trick.

  • 4th Week of Christmas: Oct 25- Oct 31
          Go-Green Gift Tags

A greener way to go this holiday season.  Why not reuse old Christmas cards as gift tags?  This little project speaks to my green holiday spirit :).

  • 5th Week of Christmas: Nov 1 - Nov 7
              The Scrappy Christmas Tree 
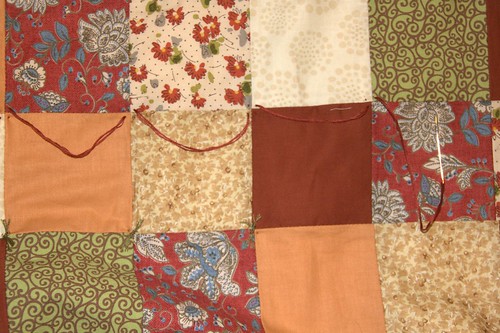
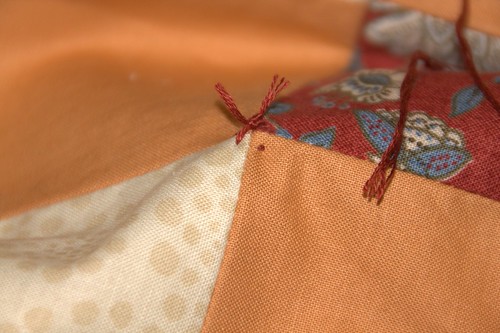
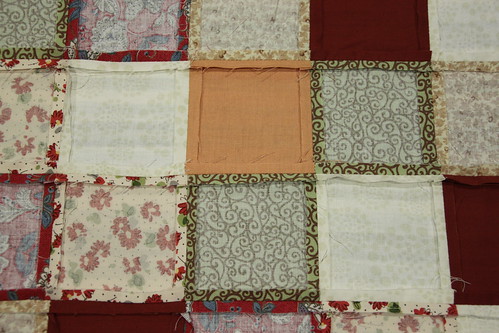
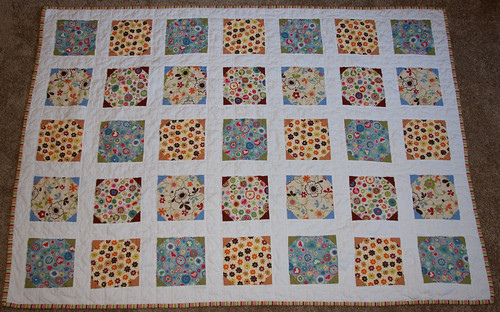
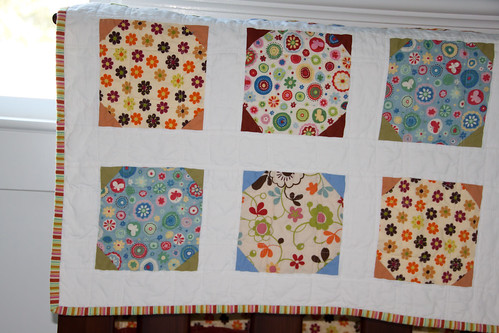
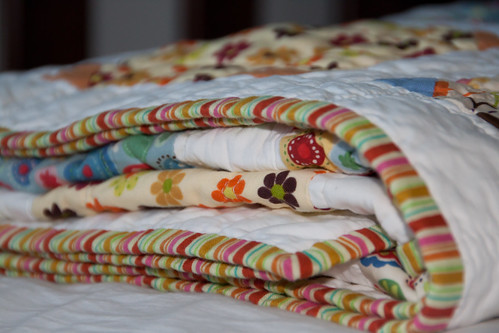
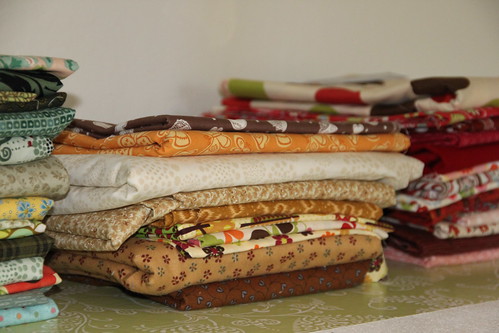
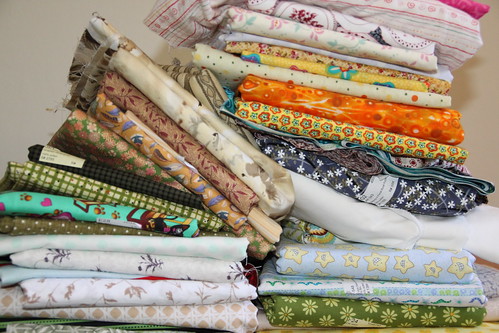
Left with a bunch of fabrics from all those quilting projects?  Have no fear - make a Scrappy Christmas Tree this year.

  • 6th Week of Christmas: Nov 8 - Nov 14
          Snowflake w/ Ribbon
Something I do every year to give our California home a feel of a 'White Christmas'.  This year I get to share this special tradition with my 2 boys...and we're going to pretty it up with ribbons.

  • 7th Week of Christmas: Nov 15 - Nov 21
          Christmas Cupcakes
Cupcakes...yummm...must I say more?

  • 8th Week of Christmas: Nov 22 - Nov 28
          Christmas Wreath
A way to use materials that you probably already have around the house already.  Decorate and reuse at the same time!

  • 9th Week of Christmas: Nov 29 - Dec 5
          Customized Tree Ornaments
Another tradition at our household is to great ornaments each year to commemorate the events of the past year.  Well this year we will attempt to make our own.  Something new :). 

  • 10th Week of Christmas: Dec 6 - Dec 12
          Garland (Fabric) Decor
An easy but very festive way to decorate your Christmas tree, a wall, or anything.  The best part?  It's made of fabrics from your scrap pile! :)    


  • 11th Week of Christmas: Dec 13 - Dec 19
          Scrappy Gift Wrapping
It's a gift wrap, no it's a present, no it's BOTH!  Know a quilter/sewer?  You could wrap their present with something they could use.  Ahh...another green Christmas idea.  Love it.

  • 12th Week of Christmas: Dec 20 - CHRISTMAS DAY
          Funny Man Gingerbread Cookies
Nothing says Christmas like the smell of fresh baked cookies.  Why not give it an extra special touch?  Make them fun with the kids!  Get their little hands dirty for Funny Man gingerbread cookie decoration time.


So what's your take on these holiday projects?  Have something you want to share?  Strut your stuff here :).

Wednesday, September 22, 2010

End of the Growing Season

Welcome AUTUMN!

Chilly mornings, long sleeves and a browning garden - ahhh it's the end of another growing season.

The last of the tomatoes:


Some that will not make it to maturity:
IMG_7170

Peppers that has reached its last rounds of bloom:
IMG_7168

Planter boxes that has seen better days:
IMG_7142

Did I mention Autumn is my favorite season :).

Sunday, September 19, 2010

BOO!

BOO!  It's that time of year to get in the HALLOWEEN spirit.  Not a huge fan of the holiday but doesn't mean I can't take this opportunity to do something that I am a big fan of: decorating of course :).

My front gate is now ready to great Treat-Or-Treaters:
IMG_7119

Here's a quick rundown of how I made this sign.

1.  Cut out the necessary fabrics:
    IMG_6895
    • For the spider - using black fabric of choice, cut down the body (2 pieces - oval approx. 8"x12"), 8 legs (1.25" x 25") and a head (2 pieces - gumball shape about 5" base)
    • Sign fabric - rectangle (2 pieces -22"x16")
    • Yellow felt - rectangle (2 pieces - 10"x8")
2. Assemble the spider
    • Start with the head - sew seams except for gumdrop base and fill with stuffing
IMG_6991
    • Sew legs over itself with a craft pipe or other flexible/bendable material in the center


      IMG_6998
    • Sew the body of the body together, starting with the head.  When sewing the seams of each of the limbs (head, each leg) place that limb inside the seam and then sew the seam shut
    • Embroider some eyes onto the spider
3. Embroider the yellow felt:
    •  Embroidery - or write with permanent paper - a cool little Halloween image/saying.  I went with the basic BOO! :)
4. Quilt the signage and bind it:
    • Treat the signage fabric like a single sheet quilt top and quilt back.  Layer it with batting and quilt.  I went with a basic straight diagonal crossing lines.
    • IMG_7103
    • Bind with a dark brown fabric.  I machine bind to the BACK then machine bind to the front of the quilt top.
5. Attach the hanging 'rod':
    IMG_7092
    • I used 2 bamboo skewers - you could use whatever would be long enough for the whole width of the signage.  It just need to be rigid enough to keep the edges of the sign from folding down.
    • Use some of the leftover binding strip to create a pocket to put the rod in.  Sew the ends shut.

      IMG_7097

    • With more of the leftover binding strip, sew 2 'ropes' or strings and attached to the newly formed rod pocket
    • IMG_7102
6. Attach the yellow felt to the signage:
    • Find a placement on the right side of the sign that you like - leave enough space on the left side for the spider, then stitch along the edge of the sign onto the sign

      IMG_7117
7. Attach the spider
    • Use a black thread and sewing the spider securely onto the signage.

      IMG_7114
8. Trim all the loose string, find a place for the sign, and attach :) VOILA!  A BOO! Halloween sign.
    • Make sure that you wrap the spider legs outward.  I wrapped all the legs around a pole on the gate.

      IMG_7110

 
There's even a nice view from the back :):
IMG_7108

Now I could get into the Halloween spirit a little bit more.  Love looking at this sign every time I come in and out of the gate :).  
IMG_7119

      Sharing at these MARVELOUS places.

      Saturday, September 18, 2010

      Squared: Knots!

      Here's a sneak on the quilting process for Squared:

      IMG_6885

      Yep that's right I'm finally giving the tie quilting a shot. This quilt top consist of small 3" completed squares so I don't want to much quilting lines sewing and I've always wanted to knot a quilt :).

      Start off by sewing in and out of the corner of each square, creating a figure 'X' on the back of the quilt. Continue with each corner until you reach the end of the row or you run out of thread:

      IMG_6884

      Next tie knots at each corner, cutting it about 1/3" - 1/2" after each knot.

      I looked at a few methods online for ideas on how to make the knots. This is the final knot I decided to make - I'm not good with knot names so I drew up a diagram of what I did:

      knot
      Diagram of knot.  It's pretty much a Square knot, but instead of looping once, loop twice :).

      Loop Once:
      IMG_6887

      Loop Twice:
      IMG_6890

      Voila! A knot!

      IMG_6888

      Repeat with all the corners until all of the blocks are knotted. I alternated each row with green and maroon thread (embroidery thread - 6 thread count).  Hopefully I could finish this up soon :).

      Sunday, September 12, 2010

      Superman Beginnings

      My older son, Asher, has been a Superman fanatic since watching the original movie.  So guess what he wants to be this Halloween?  Superman OF COURSE :).  It's still a bit early to be making the whole costume, but I can't resist making him a cape in the meanwhile.

      IMG_6910

      Here's a quick rundown of how I made the cape - sized for a 3.5 year old.

      Materials:
      • red fabric 19"x30".  I used a light weight fabric with a little shimmer that flows well.
      • yellow felt - 7"x5"
      • black embroidery floss
      • red sewing thread - match the red fabric
      • yellow sewing thread - match the yellow felt
      • iron on fusing web 
      • printed out Superman symbol - about 6" across.  I used my son's old Superman t-shirt with the logo on it.  They sell them at places like Target and Old Navy.
      • parchment paper - or another thin paper that you could see the logo through
      • Craft pen or thin sharpie
      • Scissor
      • Snap Button

      1. Double fold and sew each edge of the red fabric with the red thread.  
      2. Measure the diameter of your child's neck, add 2-3" for comfort.
      3. Fold down - 'dog-ear' the 2 top corners of the cape.  This will keep the cape from always draping over the front - optional step.
      4. Attach snap button to where you measured for the neck.  Double check to see if this is a comfortable width for your child.
        IMG_6904
      5. Trace the Superman logo onto the parchment paper.
      6. Cut out the logo around the logo and cut out the 'S'. This will be used as the stencil.
      7. Put the stencil on top of the yellow felt, make sure the whole symbol fits on top.  
      8. Use a craft pen or thin sharpie to trace around the outside of the logo and the 'S' shape right onto the yellow felt. Don't worry about the lines showing - I cut slightly inside the line around the logo and the 'S' line will be invisible once it's embroidered.IMG_6706

        Always enlist the help of the little ones :).

      9. Cut out the logo ONLY around the edges - Make sure to cut just inside the line so that the marker will be cut off.  DO NOT cut the 'S' shape.
      10. Using the stenciled on 'S' outline, embroider with the black embroidery floss using a chain stitch along the 'S'. Here's a closeup of the 'S' embroidered on.  See no more marker showing :).
        IMG_6907
      11. Using the fuse web, fuse the logo onto the red fabric about 8" down the center of the cape.  It should hit just below the middle of the back once the cape is on.
      12. Blanket stitch along the logo with the yellow thread once it's fused onto the cape.  This will ensure that the edges don't come loose and give it that extra nice look.  I use the fuse web just to make sure that the middle is on tightly. 
        A view of the front:

        IMG_6908

        A view of the back:

        IMG_6906

      13. Now your little one is ready to enjoy this cape :).
      14.  

        What's the next step?  The rest of the Superman outfit.  In the meanwhile Asher enjoys wearing his cape EVERYWHERE.  Here's my Superman spotted at the park :).

        superman1

        Sorry I didn't have many pictures of the process.  I actually made logos earlier in the day with a similar process but realized later that I couldn't use it for the cape...could you see why???

        IMG_6720

        Yep Superman's cape has an all yellow logo with black lines for the 'S'.  I guess I'll use that red/yellow logo for shirts or decal for other things - photo album cover?

        I'm sharing this project HERE.

        Wednesday, September 8, 2010

        A Little Bit of This and ... That

        Are there days when you don't feel like you get much done? You do a little bit of this and a little bit of that and by the end of the day it doesn't seem like you've done much at all? Well that's how I've been feeling. No complete projects...just a whole like of planning, un-planning, and moving things along ever so slowly.

        The Squared Quilt is finally pieced together. It seems like this quilt has been sitting on my sewing tables for ages!

        IMG_6481
        My goal is to get this baby done in time for the beginning of fall. Thanks Wendy for pointing out that the quilt has Autumn colors :). I didn't even notice it before since I started this quilt in the beginning of summer :P. I will make this my autumn quilt.

        I'm in the process of moving furniture. My living room is skinny and long and basically small. It serves as out playroom, living room, reading room, tv room, semi-craft room, work-from-home-room, and a race track for the boys.  With 2 young active boys around, the furniture has been moved around like jigsaw puzzles. Hopefully we could find an arrangement that would make good use our of small space. Hmmm...maybe a house remodel is in order...arg! If only!

        IMG_6466

        Somewhere in the mist of it all I'm planning out my 12 WEEKS of Christmas designs. Coming along, coming along. Here's my inspiration for this holiday season - 12 Days of Christmas from Moda.

        IMG_6473

        More progress to come soon I hope :).

        BTW - THANK YOU for all the kind comments on the Sweet Blocks quilt. It's so great getting so much encouragement. Thank you!

        Monday, September 6, 2010

        Sweet Blocks: Complete

        The quilt that I had no idea how to quilt until I stared it for weeks is now COMPLETE.

        IMG_6500
        Here's the completed Sweet Blocks sitting sweet after a tumble in the washer and dyer.

        Here's a closeup and the reason why the decision on 'how-to-quilt' took so long:
        IMG_6515
        I've never made a quilt with triangular shapes before. It took a lot of work getting all the triangular corners just right so I didn't want the quilting to distract from it or take away from it. 


        I finally decided to do simple straight line quilting from one end of the quilt to the end with both the width and the length: along each seam going along the exterior of each block and 2 side-by-side lines x 2 down for each block area.  The results was a very modern, clean quilt with just enough details but not too much to distract from from the fabric and blocks.
        IMG_6565
        Here is the quilt top that you could see quilting in action.  If you look closely you could see that on each block there are 2 double stitches that goes down and across.


        Shot of the front:
        IMG_6510

        A view of the back:


        Kids alert - so I couldn't get a good shot from the floor like the front of the quilt.

        Another view of the front by the window.  Love this shot because it really shows the true colors of the quilt:
        IMG_6540

        For the binding I used a striped fabric - sorry I don't recall the name unfortunately.  I was a little hesitant to use it since it was so bright but when it was put next to the quilt it worked out just fine :).   The colors matched up wonderfully with the playful colors of the blocks.
        IMG_6544

        A peak of the front, back and binding together:
        IMG_6558

        I love this quilt.  It's not in the scope of colors that I usually use, but sometimes it's nice to step out of the comfort zone right? :)

        Nope, this quilt does not have a home yet but it is not for sale either.  I may work on another one to put up on Etsy but for now this will have to be the only one.

        IMG_6538


        Quilt Information:
        Sweet Blocks
        Front: 100% Cotton Prints (Keiki) and Solids (Moda)
        Batting: Warm & Natural 100% cotton
        Backing: Same materials as the front
        Completed Dimension: 44.5″x 62″
        Quilting Method: Machine Quilt Straight Stitches
        Binding: Machine Sew to Front and Hand Sew to Back


        Sharing the quilt on these following sites.

        Friday, September 3, 2010

        Keeping Busy - Very Very Busy

        Besides from the regular 9-5, being a mom, cleaning, cooking and all that good stuff - there are still other things that keeps me busy - very very busy. 

        I celebrated another birthday recently.  The best part?  This cute gift from my son Asher (3.5 years old).  Thanks Jeff for making this happen :).

        bday


        It's been quite a journey trying to organize my sewing room.  Months of arranging and rearranging, progress is looking more real.

        The stacks of fabrics that are organized, coded, and stacked ready to be used:
        IMG_6477
        I have 7 stacks of these going based on color or main design: yellow/green, blue/white/black, brown/orange, red/pink, pink/purple, solids, and stripes.

        ...and the stack that still needs work...
        IMG_6479
        Thankfully these are the ones I don't use all that often anymore :).

        The corner of the one that is still in flux:
        IMG_6480
        I MIGHT share some of this corner space with my husband...but I don't know yet since the room is so little and it's a SEWING room :P.

        A glimpse of the cork-board-of-inspiration:
        IMG_6484

        Summer has kept this household quite busy.  We are enjoying the great outdoors and I'm trying to keep up my little veg garden.

        A bowlful of greens from the Mighty Little Garden just the other day:
        IMG_6399
        Roll call: basil, parsley, red cherry tomatoes, yellow pear tomatoes, romaine lettuce, and chard. Doesn't seem like much, but it was plenty enough to make pesto pasta and a salad - for dinner AND lunch the next for the whole family.

        Organizing my thoughts and gearing up for the holidays.  Yes summer just ended but I like to make sure I don't run behind.  I will update by soon with some holiday FUN :P.  But here's my inspiration to kick start the holidays:
        IMG_6473


        12 Days of Christmas - Moda pack.

        Cheers to more projects and creative time!

        LinkWithin

        Related Posts Plugin for WordPress, Blogger...