I don't have a fancy long-arm machine (YET) but I know that my little Brother wouldn't handle the amount of quilting I'm planning to do. The solution, well at least my solution, was the Juki TL-98Q. I've been piecing and quilting with it for a few weeks now. The verdict? I like it A LOT. Why I don't LOVE it? Even though the neck is larger than a lot of home sewing machines, it is still quite small compared to a long-arm. I tried the HandiQuilter at a local sewing machine shopped and it was fabulous. But because of space and money constraints, I will have to live with my Juki for a little while.
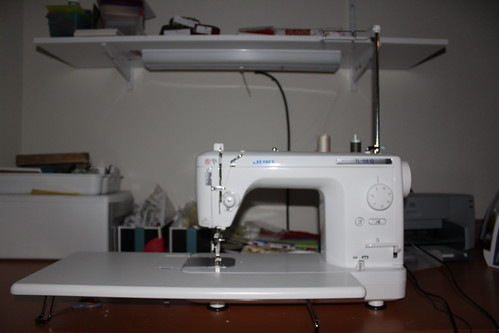
Juki sitting on my sewing table. It comes with a good size extended table top for more surface area - very good for quilting.
Features of the Juki TL-98Q Tap foot thread cutter:
In addition to the thread cutter button in the front of the machine Juki has also included a tap foot threat cutting button on the control foot. That way you could just tap (with the same foot as the control foot) to cut your thread. It took me a little while to get used to this option. I totally got into it when I put together pieces for my new quilt. Love the tap foot feature! I don't need to take my hands my quilting surface at all.
Knee Head LeftA must-have feature I now must have in any sewing machine. This is also great because I don't need to ever take my hands off the quilting surface. Just a slight push of my knee against the lifter and the sewing head goes up. I know I know, this is not a new feature and I have used it before on my mom's sewing machine, but I completely forgot about it since my old Brother did not have this feature. I don't think I could live without it anymore.
Bobbin WinderIt's fast, very easy to use. BUT it doesn't work in conjunction with sewing. One thing I liked about my Brother (one of not that many) is the option to wind the bobbin while I am sewing. I could choose to just wind the bobbin, just sew, or sew AND wind bobbin simultaneously. Though I did not often used both at the same time, it's nice to have on a time crunch when I don't want to be sitting there winding my bobbins - I could wind and sew at the same time. Like I said, the Juki-98Q does not have this feature. While the bobbin is winding the sewing mechanics do not function. Something minor, but I wish they have it on the Juki.
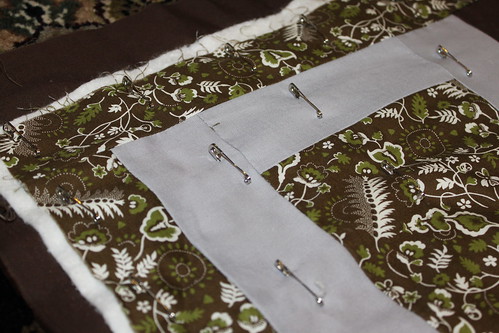
Bobbin Size The bobbin used for this machine is also very small. For sewing it's fine. For quilting, it becomes quite a hassle. For a crib/lap size quilt I usually need to have 4 full bobbins to complete the quilting.
Needle Up/Down A nice feature to have. This is something I could live without but it's nice none the less. With a push of a button I could make the needle go in the UP or DOWN position. Guess I'm pretty much used to the manual up/down wheel on most machines. Very useful at the start of a sewing line, with the needle up I slide in my fabric, then quick push of button I could have the needle go down so I could let go of my fabric without it sliding around. The button is also very close to the head of the sewing needle so I don't have to reach quite as far to get to the manual up/down wheel on the far right of the machine.
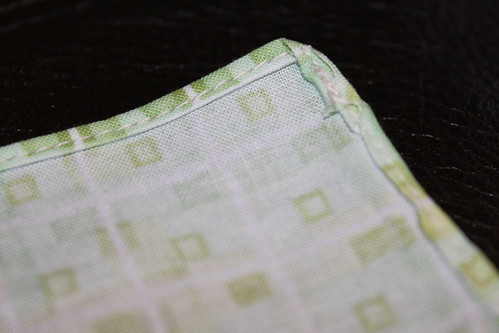
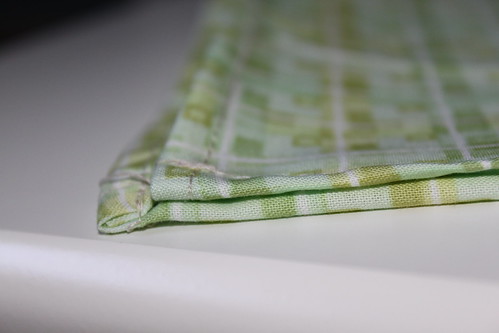
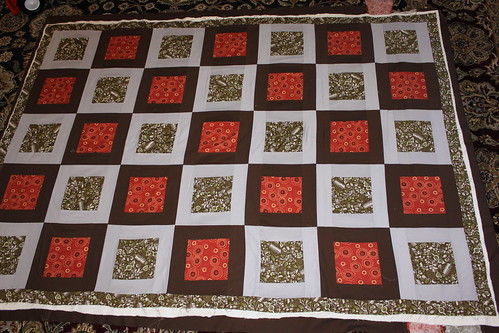
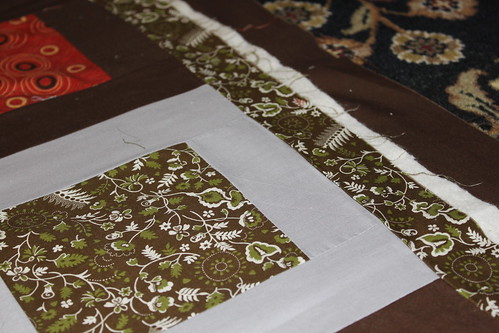
Overall this is a great machine. It is very fast, quiet, and portable enough to move around when I need to use another machine. In my small sewing room it's a nice machine to have. I have already pieced together 3 quilt tops, 4 bindings, and quilting 2 quilts (pictures below). One quilt was a straight line that I used the walking foot with. I don't think I would be doing that again. There was a lot of bunching and awkward to against. I broke 2 needles trying to fix the bunching. The second quilt I used the 1/4" quilting foot. It worked beautifully. All I had to do was against a few settings and drop the dog feed and I was free-motion quilting in no time.