

But a couple of hours of quality time and now this quilt is ready for the quilting machine - well my sewing machine with a quilting leg attachment (Juki TL-98Q). Close enough right? Gets the job done :).
I did the first part of the quilt sandwich last month so this time it was just the matter of finishing it up with the quilt backing.
This is all 3 layers place together and smoothed out - quilt top, batting, quilt back - all ready for basting.
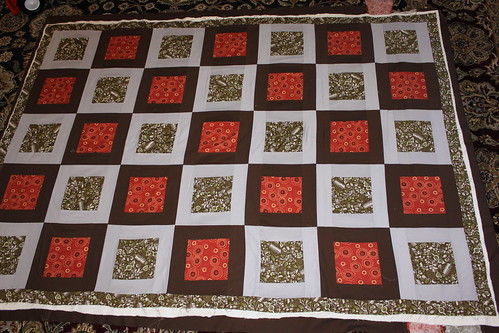
Takes up most of my living room rug. I like to (whenever possible) assemble the quilt on the rug because it's just more comfortable to work on than the hardware floor. The rug isn't on of those ultra plush rugs so there's no much give to wrinkle up the fabrics.
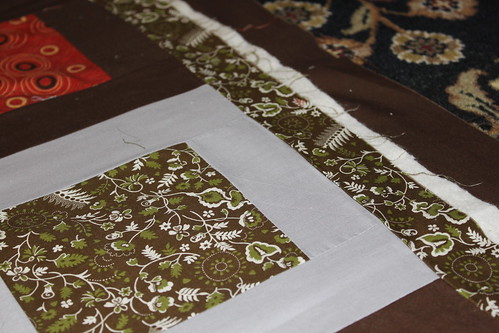
A closeup of the quilt sandwich:
This stage is always so scary to me - it's when all the pieces come together and you get to see if all your measuring, cutting and sewing was done correctly. Luckily, this one was :) - all the pieces lining up just fine.
After every each of the quilt sandwich was smoothed out it is time for the safety pins to come out again. I use a lot of pins. I start from one end of the quilt and make my one to the other end. For the edges I pin about 2-3 inches apart, for the interior I pin about 4-6 inches apart.
Pins, Pins, Pins:
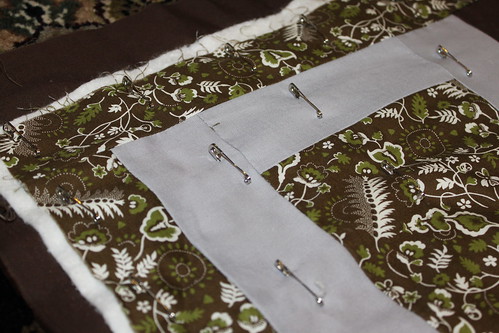
I love the look of a neatly pinned quilt. Here is a closeup of the pins - notice the ones on the edges are closer together than the ones in the interior.
The quilt is now ready for some quilting. I'm going to be doing a freestyle motion quilting. Hopefully I could schedule this into my next week's goals.
No comments:
Post a Comment