Showing posts with label pattern. Show all posts

Tuesday, May 25, 2010

Inspiration For the Kitchen Floormat

I'm inspired....

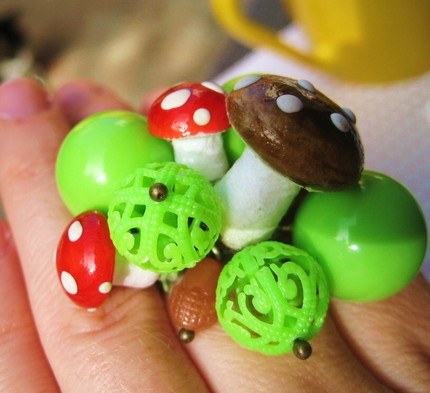
super-mario-mushroom-ring

AND....
469f28e005ba44.36175390frogview-gallery

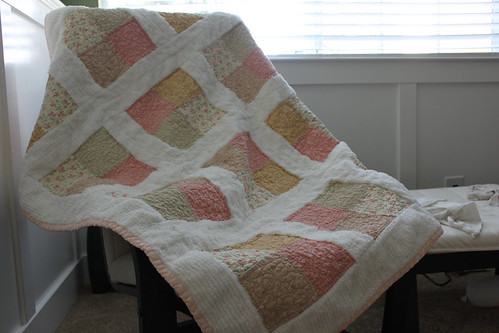
I found these pictures online - so pretty.

Now I have a direction to go on what I want to do with the kitchen floormat design :).  Still need to write up a design draft but at least now I have a starting point.

Thursday, May 13, 2010

Sweet Blocks - Design Preview

SweetBlocksDidn't get around to cutting the fabric yet or picking which ones yet... BUT I do have the design ready to go :). Baby steps.

Monday, May 3, 2010

Borders and Scripes - Design & Piecing


Remember this fabric that I posted a while back?

IMG_3874
Strips that I cut up a little while back.

Well, I finally got around to making a pattern for it :).  I decided to use the strips on the left side in the photo above - the one without the brown order attached.  There's 4 strips, but I'm only going to use 3 for the next quilt.  The pattern's goal was the maximize the great design of these strips of fabric.  So I decided to design something that wouldn't involve having to cut up the strips.
 
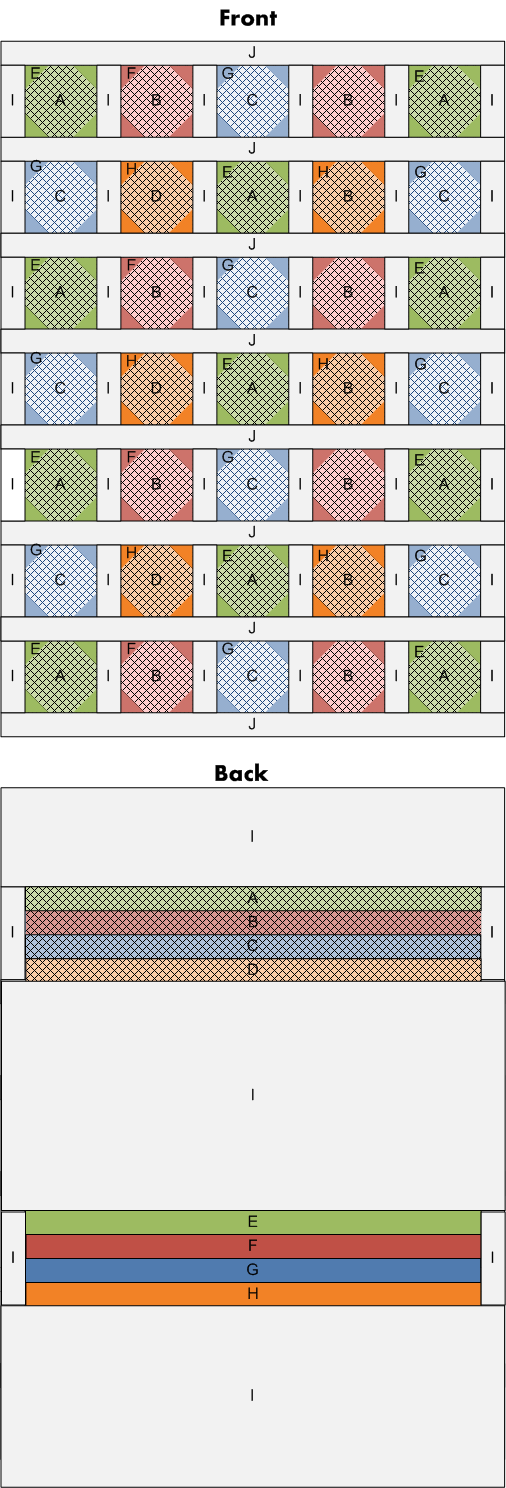
Here's the design front of the quilt:
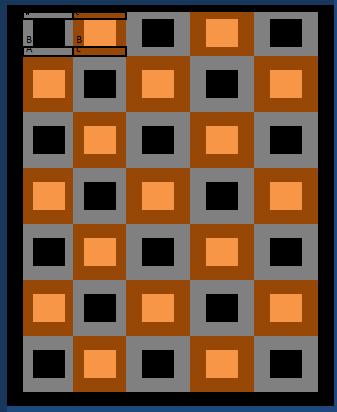
Borders and Stripes
The blue in the design (or B) will be will the border strips are going to be.  The dark brown and green are also patterned fabrics.  The beige and lighter brown will be solid colors.  The dotted lines is where I'm planning to do some decorative hand quilting.

So, I decided to take the length of the fabric - 75" - and make it the width of the new quilt.  This way I don't have to sacrifice any of the length.  The completed quilt will be 74"x80".

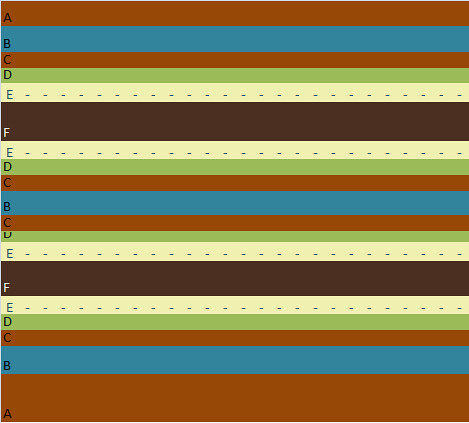
This will be the quilt back:
Borders and Stripes Back
I thought about using the 4th strip of the border fabric for the back, but decided against it last minute.  I didn't want the back to distract from the front any. So I repeated the solid beige and lighter brown color for the back of the quilt - alternating.  This picture make the back look bigger than the front, but trust me it's the same height and width.


The Borders and Stripes stack all ready for piecing:
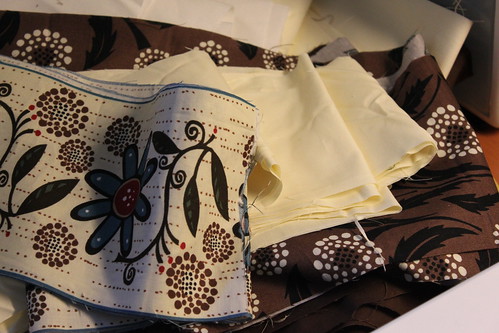
I always live the look of the fabric after it's been cut - ready for piecing :).


I can't wait to start on this quilt.  I'm a sucker for earth tones and I love the look of this border.
Wednesday, April 7, 2010

Back to the Machine - FINALLY!

It's been quite a while since I get to sit down at my sewing machine to get some work done.  In a previous blog I previewed the next quilt I'm working on "Modded".  I had the pieces cut for a couple of weeks now and it's been just sitting on my sewing table.  At last, I sat down today, pieced and pressed after I got off work from my 'day job'.

Here's the basic design of the quilt.
modded
Blocks of 5x7 with a border around and binding. This design is for a lap size quilt about 47"x60" completed.


Each of the box was pieced together in 5 block strips.  Make sure that each strip alternates block colors.
IMG_3799
Pictured is one of the strips of 5 blocks.  

Make sure you iron after each seam is made.  If you don't it'll be difficult to do so later on.  Diligent pressing creates flat surfaces for the quilt top.  Take special care of making sure all the joining seams are pressed carefully.  Here's a close-up of seams being pressed opened.
IMG_3819
I press seams open for most of my quilts.  It creates a very clean, flat surface to quilt on.  I also adjust my stitch spacing to be closer when I do this - I use sittings 2 on my Juki.  Notice the nice perpendicular joints - very flat and pressed down very well.  Remember to press each seam after sewing.


After the 7 strips of 5 blocks are complete, I lay out all the strips to make sure everything was lined up properly - hahaha and to make sure I didn't forget any pieces :P.
IMG_3825
Tried my best to take a picture of all the strips lined up - but didn't have the room in my hallway :(.  But you could get a good feel of the how the quilt time should look at by point. 5 blocks across, 7 blocks down, 35 blocks TOTAL.

Next?  Lining up the inner border all around the blocks.  I use the same green/olive fabric as I used for the blocks for the inner border.  I'm not quite sure how this will work out.  I first gut was to go with a different fabric for this step, but I really like the fabric and wanted to use it more than just in the blocks.  Well here's the guest and check :P.
IMG_3801
The inner border all cut, sewed, pressed, and ready to be added around the blocks.  This is pretty much all I had time to do this evening.  Not bad progress - I THINK.

Next up? Adding up the inner border, creating the quilt backing, quilt sandwich, quilt, binding.... Lots to do to get a quilt ready.

LinkWithin

Related Posts Plugin for WordPress, Blogger...