
Remember this fabric that I posted a while back?
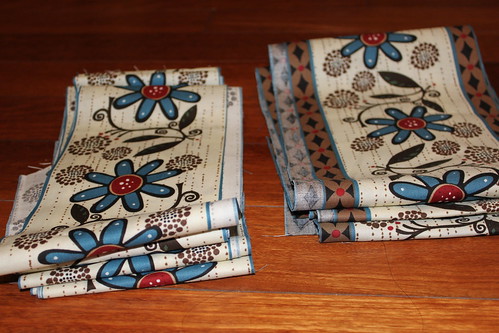
Strips that I cut up a little while back.
Well, I finally got around to making a pattern for it :). I decided to use the strips on the left side in the photo above - the one without the brown order attached. There's 4 strips, but I'm only going to use 3 for the next quilt. The pattern's goal was the maximize the great design of these strips of fabric. So I decided to design something that wouldn't involve having to cut up the strips.
Here's the design front of the quilt:
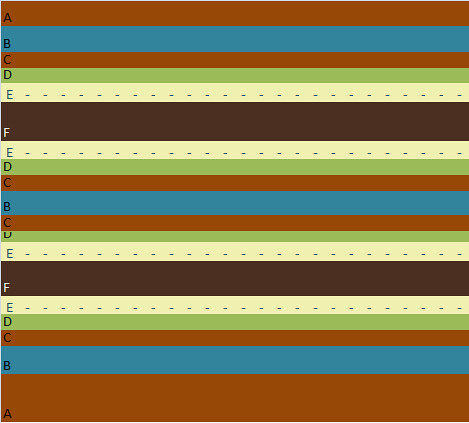
The blue in the design (or B) will be will the border strips are going to be. The dark brown and green are also patterned fabrics. The beige and lighter brown will be solid colors. The dotted lines is where I'm planning to do some decorative hand quilting.
So, I decided to take the length of the fabric - 75" - and make it the width of the new quilt. This way I don't have to sacrifice any of the length. The completed quilt will be 74"x80".
This will be the quilt back:
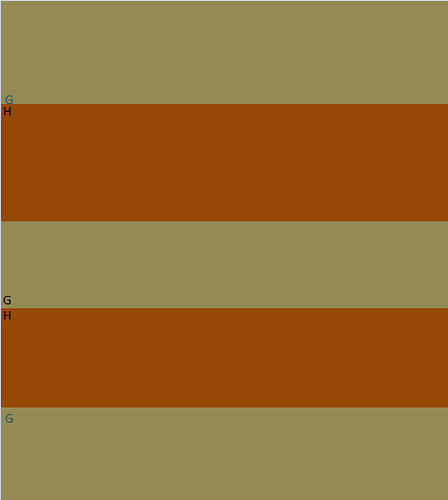
I thought about using the 4th strip of the border fabric for the back, but decided against it last minute. I didn't want the back to distract from the front any. So I repeated the solid beige and lighter brown color for the back of the quilt - alternating. This picture make the back look bigger than the front, but trust me it's the same height and width.
The Borders and Stripes stack all ready for piecing: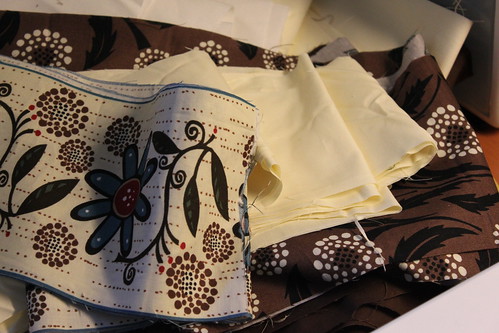
I always live the look of the fabric after it's been cut - ready for piecing :).
I can't wait to start on this quilt. I'm a sucker for earth tones and I love the look of this border.
No comments:
Post a Comment