A quick cleanup of my rug and the
Borders and Stripes quilt is back on it for the quilt backing and basting. Maybe I was not in the mood or I got used to putting together the baby quilts but this turned out to be quite a lot more work than I expected.
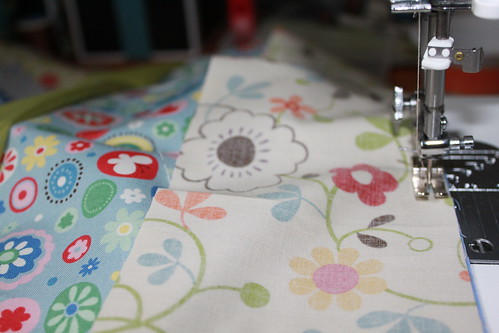
But after what seemed like
forever I finally got the quilt bottom in place with the batting and quilt top. Here's a glimpse of it as I was unrolling the batting and quilt top onto the quilt backing.
 Whee! I thought I'll never finish this process!
After I got the whole quilt assembled and ready for the pinning I realize that the edge of the quilt was quilt uneven. I guess I was pretty careless while measuring out the width of the quilt since it was all horizontal stripes. No matter, it could all be trimmed away without causing any difference in the design of the quilt - since it was all horizontal stripes after all.
But I never feel comfortable about cutting away at the extra material around the quilt until after quilting - well unless there's an
excessive about of material which was not the case here. So I decided I'll outline where I want the quilting to top and where I would eventually trim, with some quilter's tape.
Here's a closeup of the tape work I did to make sure I know where to trim later.
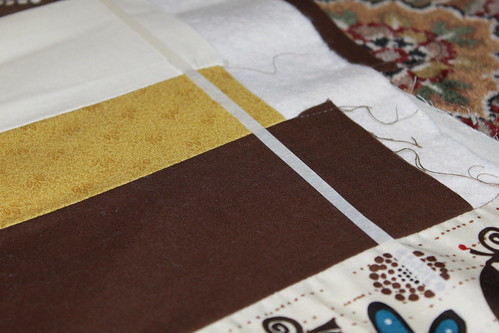 Some spots barely need any trimming, but others like the area pictured here needs about 1-3 inches of trimming.
 Why am
I taking the time to do this? Well I'm planning to quilt some decorative lines into the quilt and I want to make sure that I don't cut into my hand quilting area. As you may already know, hand sewing/quilting is not forgiving when it comes to cutting. You DO NOT want to cut into the middle of any hand-sewn stitching as it will cause the stitch line to unravel.
Well the quilt is all pinned and ready for quilting. I'll put that off till next week :P.