Saturday, October 30, 2010

The Green Gift Wrapping: Week 4 of the 12 Weeks of Christmas

Spreading some Holiday joy and being environmentally friendly could be a challenge sometimes.  If you have kids or just love presents during Christmas you are well aware of the massive amount of paper and plastics used to make those presents look extra special.  Well - why not wrap them with something reused or reusable and help reduce the amount of waste we put into the landfills each year?

Each year for the holidays, I try to do something Green and help do my part in preserving our planet's resources.  This year I'm re-purposing old Christmas cards and using odds and ends from my quilt scrap pile to create finishing touches on Christmas presents.

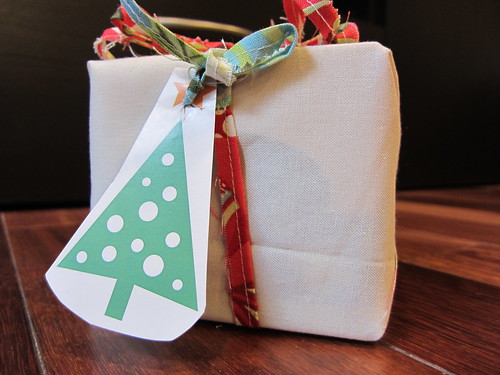
The Green Gift Tag - Re-purposed from an old Christmas card:
IMG_0027
Cut up those old Christmas cards.  They come with nice Christmas images all ready to be reused and enjoyed again.  Cut it to size and string with a ribbon.  Make sure the back has enough space for names.


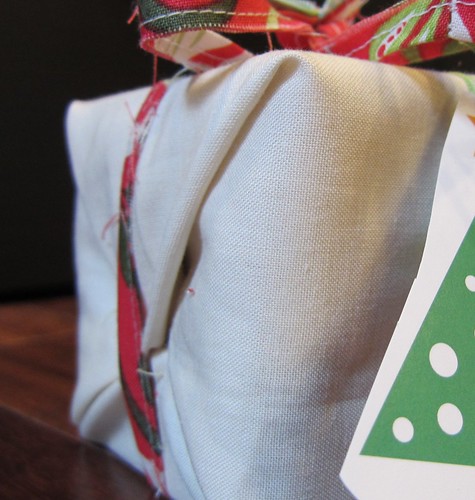
Gift Wrap Made from Scrappy Fabrics - Completely Reusable for that special gift receiver:
IMG_0031_2
Perfect solution for a small gift.  Use those small pieces of fabrics lying around in your scrap box - a double present for fellow quilters and crafters - fabric to use and a present inside :).


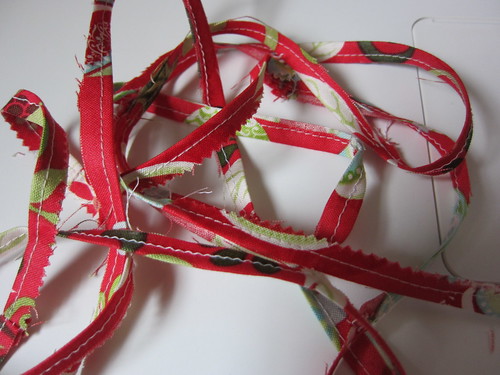
Fabric Ribbon - Reducing the amount of 'New' material by using Fabric Scraps:
IMG_0023
A good way to use up scraps from the fabric scrapbox.  Use fabrics that have nice bold colors to add an extra pop to any present.  For this ribbon I used the 12 Days of Christmas Moda Charm Pack fabrics.

You could use these separately as an added green touch to any present, or use them ALL together to amaze your family and friends on how Green Christmas giving can be :).
IMG_0030

However you decide to celebrate the holidays this year, remember to be mindful of what you're using and where it ends up after being used. 

Thanks for visiting JAQS and I will be sharing these Green Holiday Ideas at THESE great sharing parties.

Sweet Blocks For Quilt Festival

One of my favorite quilts this year is the Sweet Blocks quilt I made a couple of months ago posted here.

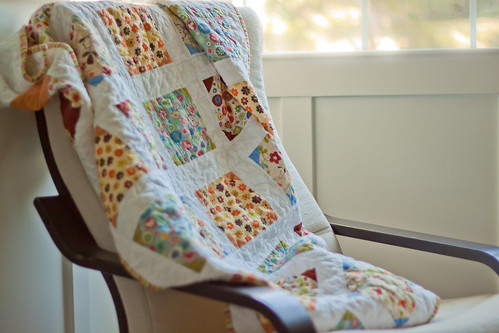
IMG_6500
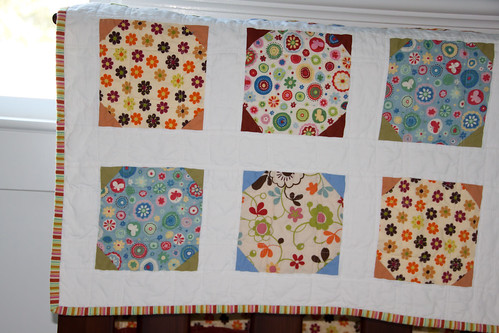
Here's the completed Sweet Blocks sitting sweet after a tumble in the washer and dyer.

A few things about this quilt stood about this quilt -
  • It was my first time using triangles in a quilt
  • The color scheme - bright colors that are a bit more 'girly' than I'm used to 
  • Finding the quilting pattern for this quilt was the most difficult part for me.  I finally settled for straight lines with some definition
  • It's my husband's favorite quilt this year :)
Those reasons and the fact that I too love this quilt is why I'm sharing it on Amy's Creative Side's Bloggers Quilt Festival:
Amy's Creative Side - Blogger's Quilt Festival


Here's some snippets from the original post:

Here's a closeup and the reason why the decision on 'how-to-quilt' took so long:
IMG_6515
I've never made a quilt with triangular shapes before. It took a lot of work getting all the triangular corners just right so I didn't want the quilting to distract from it or take away from it. 


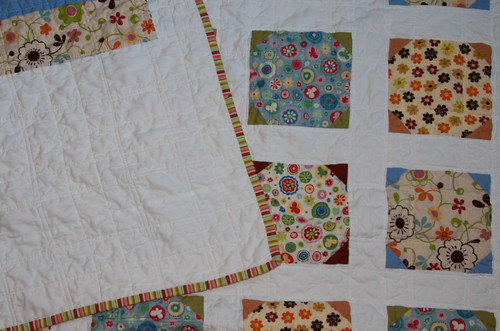
I finally decided to do simple straight line quilting from one end of the quilt to the end with both the width and the length: along each seam going along the exterior of each block and 2 side-by-side lines x 2 down for each block area.  The results was a very modern, clean quilt with just enough details but not too much to distract from from the fabric and blocks.
IMG_6565
Here is the quilt top that you could see quilting in action.  If you look closely you could see that on each block there are 2 double stitches that goes down and across.


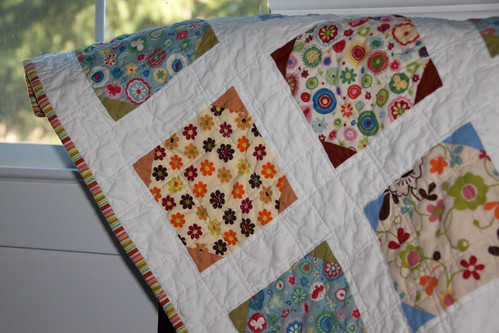
Another view of the front by the window.  Love this shot because it really shows the true colors of the quilt:
IMG_6540

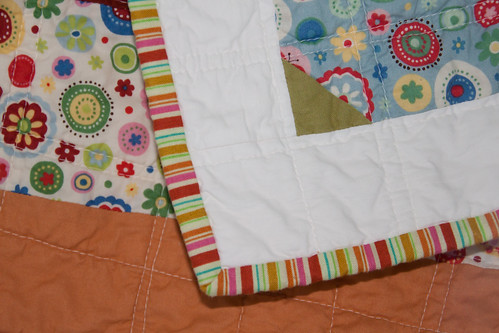
For the binding I used a striped fabric - sorry I don't recall the name unfortunately.  I was a little hesitant to use it since it was so bright but when it was put next to the quilt it worked out just fine :).   The colors matched up wonderfully with the playful colors of the blocks.
IMG_6544

A peak of the front, back and binding together:
IMG_6558

I love this quilt.  It's not in the scope of colors that I usually use, but sometimes it's nice to step out of the comfort zone right? :)

Nope, this quilt does not have a home yet but it is not for sale either.  I may work on another one to put up on Etsy but for now this will have to be the only one.

IMG_6538


Quilt Information:
Sweet Blocks
Front: 100% Cotton Prints (Keiki) and Solids (Moda)
Batting: Warm & Natural 100% cotton
Backing: Same materials as the front
Completed Dimension: 44.5″x 62″
Quilting Method: Machine Quilt Straight Stitches
Binding: Machine Sew to Front and Hand Sew to Back

Wednesday, October 27, 2010

No Camera...

I had to return my camera recently.  New one in the mail, but that leaves me with no pretty project progress to show :(.  Haha I don't think anyone wants to see my handy camera phone skills :P. 

Project process and continuation of the 12 Weeks of Christmas to come... promise.

Friday, October 22, 2010

Red Poppies in the Horizon

I am inspired:


As a native Californian I have been seeing orange Poppies my whole life.  I don't know why I have not noticed these red ones until recently :P.  Well - it was love at first sight.  I knew I must do something to incorporate these red poppies into a design.

So here goes my first Red Poppy quilt. 


Don't mind the messy Poppy flowers- promise that it'll be more 'refined' by the final design :).  I can't wait to get started on this project.  More progress to come...

LinkWithin

Related Posts Plugin for WordPress, Blogger...