
My front gate is now ready to great Treat-Or-Treaters:

Here's a quick rundown of how I made this sign.
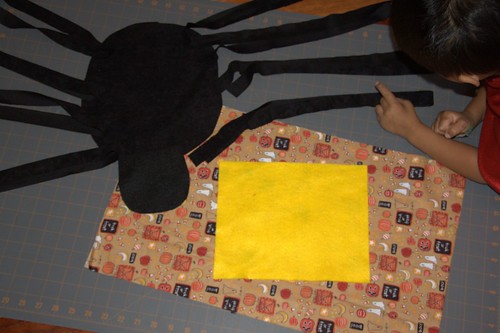
1. Cut out the necessary fabrics:
- For the spider - using black fabric of choice, cut down the body (2 pieces - oval approx. 8"x12"), 8 legs (1.25" x 25") and a head (2 pieces - gumball shape about 5" base)
- Sign fabric - rectangle (2 pieces -22"x16")
- Yellow felt - rectangle (2 pieces - 10"x8")
- Start with the head - sew seams except for gumdrop base and fill with stuffing

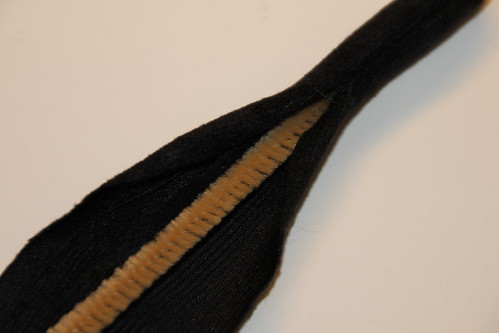
- Sew legs over itself with a craft pipe or other flexible/bendable material in the center
- Sew the body of the body together, starting with the head. When sewing the seams of each of the limbs (head, each leg) place that limb inside the seam and then sew the seam shut
- Embroider some eyes onto the spider
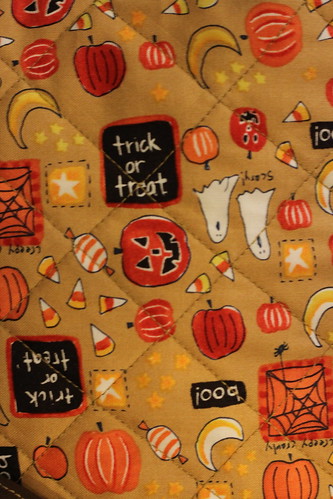
- Embroidery - or write with permanent paper - a cool little Halloween image/saying. I went with the basic BOO! :)
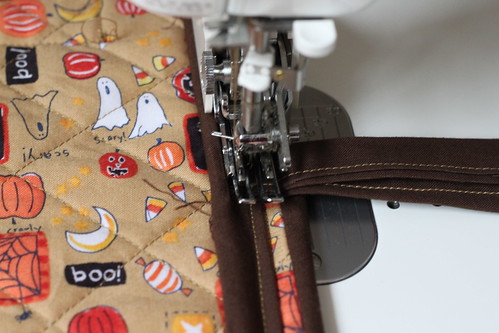
- Treat the signage fabric like a single sheet quilt top and quilt back. Layer it with batting and quilt. I went with a basic straight diagonal crossing lines.
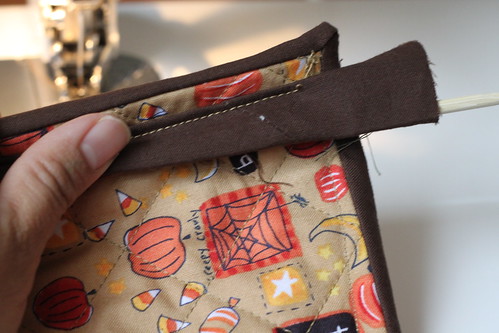
- Bind with a dark brown fabric. I machine bind to the BACK then machine bind to the front of the quilt top.
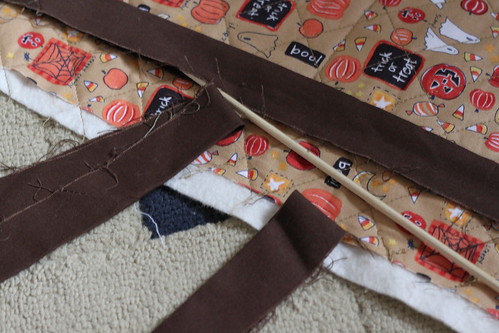
- I used 2 bamboo skewers - you could use whatever would be long enough for the whole width of the signage. It just need to be rigid enough to keep the edges of the sign from folding down.
- Use some of the leftover binding strip to create a pocket to put the rod in. Sew the ends shut.
- With more of the leftover binding strip, sew 2 'ropes' or strings and attached to the newly formed rod pocket
- Find a placement on the right side of the sign that you like - leave enough space on the left side for the spider, then stitch along the edge of the sign onto the sign

- Use a black thread and sewing the spider securely onto the signage.
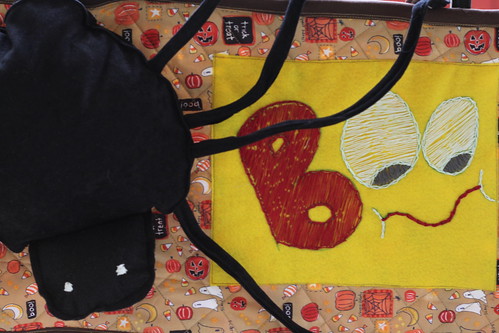
- Make sure that you wrap the spider legs outward. I wrapped all the legs around a pole on the gate.

There's even a nice view from the back :):

Now I could get into the Halloween spirit a little bit more. Love looking at this sign every time I come in and out of the gate :).
Sharing at these MARVELOUS places.
9 comments:
very cute. I would hate to leave it out in the elements for any length of time it would get ruined. Happy Halloween
very cute. I would hate to leave it out in the elements for any length of time it would get ruined. Happy Halloween
That is super cute! We love Halloween! We are your newest followers hopping over! Hope you will hop over and visit us too! We also have a hop on Saturdays, we would love you to join!
Our site is www.justmarriedwithcoupons.com
Have a great night =]
How cute is that! Love the project. So unique!
Too cute for words !
I love that spider! Great job! Thanks so much for sharing your project with us at Anything Related!
{Rebekah}
That is so cute! You are so creative!
Really fun - the spider is so cute. Thanks for linking to Craftastic Monday:)
This is such an adorable DIY project!
Post a Comment