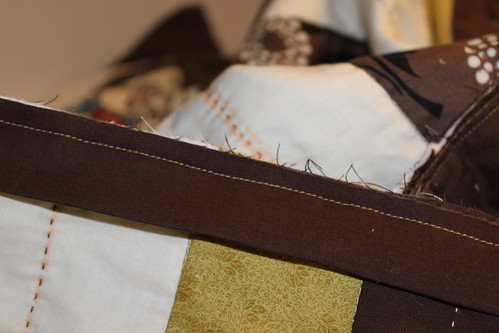
Tip: Notice the light brown stitch along the edge of the quilt. This is an extra step I use to make sure all the edges are flattened and everything is nicely squared up. This makes attaching the binding super easy.
For the binding I'm using a Moda dark brown solid. It's the same brown as the solids on the quilt top and quilt back. I cut 2.5" strips and iron them in half. This creates a very strong binding for the quilt. Then the prepared binding is attached to the quilt top - raw edges matching up:

Stitch all around the quilt top about 1/4" away from the edge using mitered corners for each of the corners.
The top front of the quilt top after the binding is attached should look like this. Notice the nice clean edge.

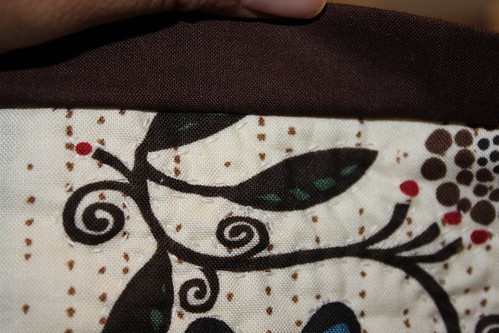
When the binding is folded over to hand bind to the back, the front should look like this:

The quilt top where the binding is attached should be free of pinches, you shouldn't be able to see any of the threads, and it should be in a nice straight line. The picture above is also a nice closeup of the hand quilt work around the flowers. Notice how the hand quilting goes right up to the edge of the quilt.
Now this quilt is ready for some hand binding and off the washing and drying machine for a nice rinsing. It's my first time using the marking chalk so hopefully it comes out nice and easy in the wash :). I'll post with the final quilt results very soon.

No comments:
Post a Comment