
Quite a few people give me a weird stare when I tell them that my favorite part of quilting is putting the binding on the quilt. Why do I enjoy it so much? To me, it is the binding that gives that quilt the complete look. It is the cherry on top of the sundae. It is the smallest part of the quilt and the least expensive (usually) and still makes such a huge impact on the overall look of the quilt. And I really really enjoy making it :). There's something very orderly and very calming about cutting strips of fabric into strips, pressing it down, and attaching it as the final touch to a long process.
Here's my process in making the binding - aka my fave. I'll go over the attaching of the binding onto the actual quilt in another posting since this posting has actually gotten quite long.
1) Cutting the fabric into strips. This could range from as small to as large as you want. I usually keep it around 2" to 3.5" inches. Must have tools - cutting mat, rotary cutter, and long ruler. You could get this at any local quilting or fabric store. Basic stuff but a must to have if you plan on cutting a lot of straight edges. How much do I cut?
- Quick calculation:
- This will give you the total length of the binding you have to cut. So for a 44" fabric you divide this by 44 to give you the number of strips you have to cut.
- Example: For a standard crib size quilt of 46" Wide and 60" in Height with a Total length needed: (46 x 2) + (60 x 2) + (0.5 x 4) + 8 = 222"
- Generally is the number like 5.045 I would keep it at 5 strips. If the number is any bigger like 5.2, I go ahead and round up to the next number. So if my number was 5.21 I would go ahead and cut 6 strips of the binding. You could always use the extra fabric for another binding or part of another quilt.
- Place end of one strip facing right side up horizontally. Place another strip perpendicular to the horizantal piece with right side down so the right sides of the two pieces are facing each other.
- Mark or fold down top piece at a 45 degree angle. This is the line where you are going to sew to make the two pieces join. I usually just press this down to make a crease with my finger and pin it down on 2 spots to keep it in place.
- Continue matching each ends of the strips together with the ride sides facing each other for the rest of the strips. When you are complete you should have a long strip of binding ready for sewing.
- Time for sewing! Run over to your sewing machine and sew right on the lines of the creases or markers they you have just made to binding.
- Now that your binding is sewed together, cut out the triangle ends at each end of the sewed corners. Cut about 1/4" from the seam.
- Voila! When all this is complete you should have one single strip of very long binding. Make sure that all your pieces are facing one direction.
- Iron the binding in half with the right side facing out. I press the seams open, this helps the binding be nice and flat with it's attached to the quilt.
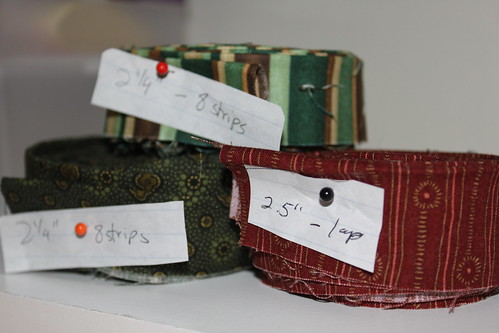
- Now you could either start using your newly made binding on your quilt (more about that in a later posting) or you could store it away for later use. What I usually do is make a few of my bindings at a time, roll them up, pin them down with a little note and put it aside so it'll be ready when the quilting is done. Another reason why I love binding so much? It makes for a beautiful decoration for a shelf while it's waiting to be used.
Here's a photo of 3 sets of bindings all ready to be attached to quilts. I write myself a little note and pin it onto the roll - tells me what the size of the quilt it's for and doubles to hold the binding in place so it doesn't get unraveled. Makes for a cute little addition to a sewing room also.
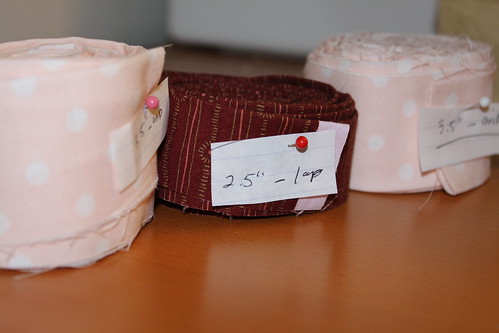
After making the binding strips, I roll them up and pin them to keep from unraveling. One pin and a note to remind myself what size the binding is and I'm done. Now the binding sits nicely on my shelf until I need it.
So there you have it. A quick (trust me, when you do this a couple of times, you will get the hang of it real quick) little rundown of how I create the bindings for my quilts. In another posting later on I'll go over how I attach the binding using a sewing machine, make miter corners, and hand sew the back of the binding to create the the perfect finish to a quilt.
No comments:
Post a Comment