
So for all the projects I've done so far I've done the machine sew on the binding to the from of the quilt and hand bind to the back. But with the recent Floormats I decided to try out machine binding ALL THE WAY - front and back. I've heard mixed things about machine binding but I wanted to try it for myself and see if it's something worth doing.
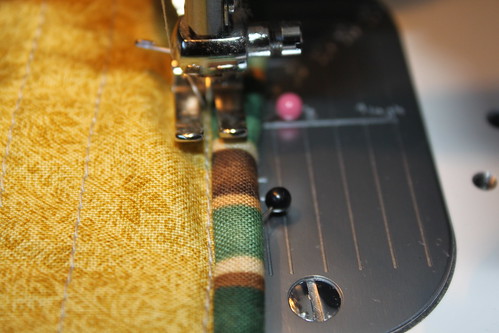
It actually started out pretty well. I machine sewed the binding to the front of the quilt. Then I pinned down the back of the quilt because I read from other quilters so it'll be easier if you pin it until you get used to it. So pinning it is:
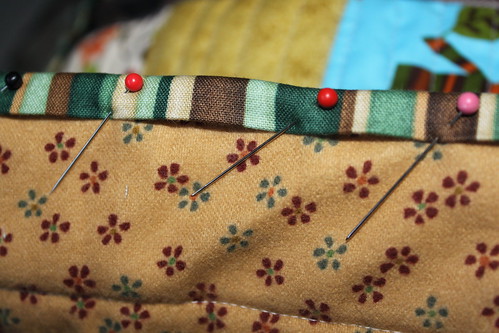
Okay okay so far so good. Not much different from hand binding ... except I don't usually pin down the back like this.
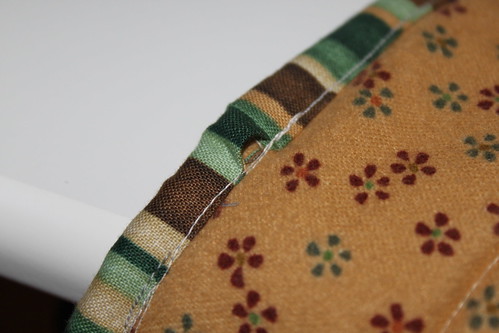
Like I said it was a pretty good start. After about half one into the first edge of the floormat I was in cloud nine and thinking "Geez this is EASY!"

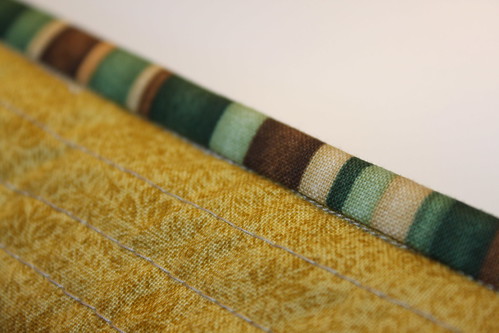
Nice start huh? Nice and even in the back. Only wish I used another thread, but oh well, it's a floormat so you'll never see the back while it's in use anyways. And besides I did the quilting with that thread already so something matches it in the back.
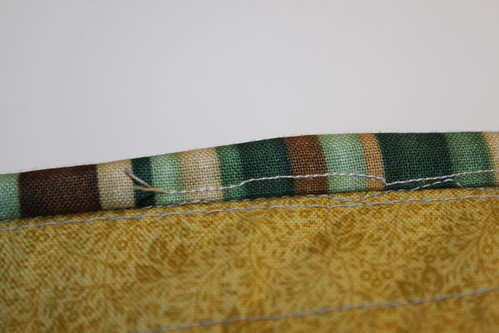
Even the front of the mat was looking very good.

The binding stitch is that smaller spaced out stitch in the ditch of the binding. In person you could hardly see any of the binding thread. Nice right?
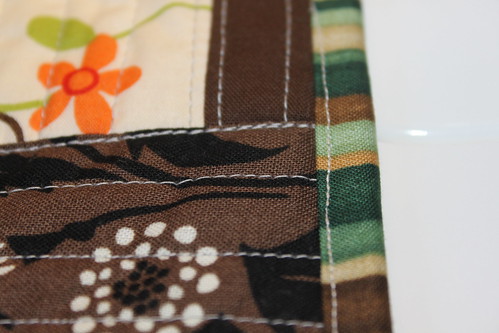
BUT then this happened...
Missed the binding altogether in the front! Arg where's my seam ripper!
THEN this...
I blame the pins! Just kidding it's me...well me having problems with the pins. Maybe I wasn't using the pins correctly, but every time I had to remove a pin I would tend to loose the grip on the mat and the sewing gets shifted. The results - very messy, very crooked lines.
AND even a little bit of this...
Hey you're not suppose to sew on the binding on the TOP of the quilt! ARG!!!!
COFFEE BREAK! With a little more coffee and a little more patience and NIXING the whole pinning business I was back to this at last :)....
My final method of (almost) NO pins but just taking it slowly and making sure the stitching is straight - I used a few pins when I really needed the extra support in those 'problem' areas. So the method: Sew an inch or two, check alignment, peak at the back of the quilt to make sure the binding is being sewn of the stitch, sew a couple of more inches, then back again to the checking. I sew from the front of the quilt top so I could make sure that I am consistently sewing in the ditch - of course making sure that I caught the back of the binding also with the same stitch
Use pins sparingly. It become a hindrance most of the time, but sometimes you just need it there to hold some difficult spots together - ie: seams of the binding.
I am sure this technique of ALL machine binding will be faster with practice. I don't think I'll use it for most of my projects because the result do show the thread in the back and even a little in the front since the thread in the front did not match with ALL the fabrics used for the front. I will keep trying this technique. Maybe more floormats?? Or if I'm in a pinch while trying to finish up a quilt? Or maybe just for something to change things up a little? Or better yet, when my hands are tired from hand binding? :) Practice makes perfect right?
2 comments:
You did a super job! I tried to machine bind and was terrible at it. :o) Keep up the good work!
Sincerely ~ Trish
Wow - you are brave and amazing, Q! Good job.
Post a Comment