

Amy Schimler's On a Whim Perched Owls Earth. Thank you organized stash :)!
Took some time to cut out pairs and singles of these cuties:
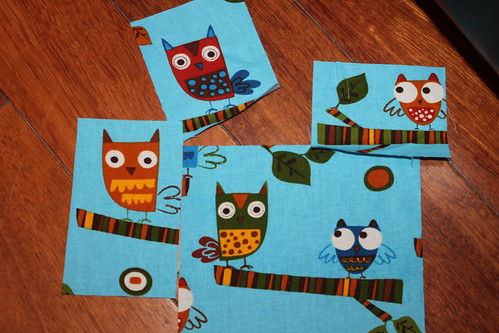
I cut 20 of these out. I tried to make sure I got each of the owls and trying not to be too wasteful with the fabric.
And since the inspiration and design for this quilt was the "Quilt as You Go" I just kind of went for it - with no particular order, color or measurements in mind for the fabric pieces. My parameters for the kitchen floormat was 15"x22" so that was basically my only 'goal' - end up with a floormat around that size :).
Here it goes...
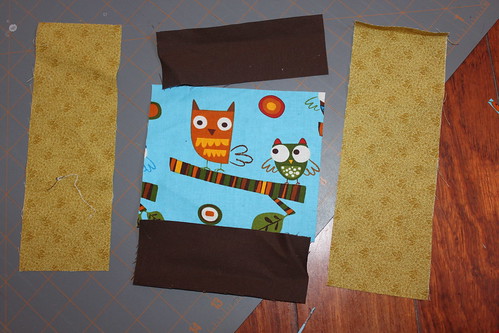
I just started to layout each piece at a time around one of the owl cutouts. Then one that was quilted on, I picked another fabric color and did the same - keep laying it out one strip at it time until I reach the edge of the floormat.
And the results? Here's a look:
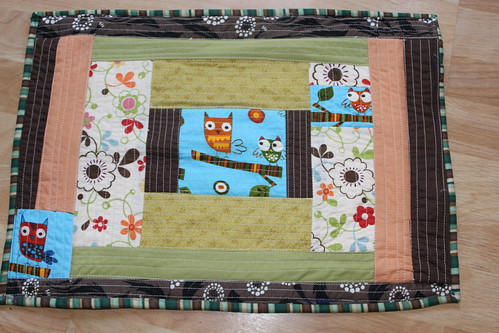
Unfortunately I didn't have a chance to take a picture of this before it got used by the kids - the edges are a little curved and the whole thing got a little wrinkled, but you get a good feel of the results anyways.
I was very happy about the way it turned out - super easy to make and the results are fun and pretty. HOWEVER, it was a bit too small for the kitchen....ARG!
No worries I used it for the kid's bathroom instead :). Win Win. And I get to immediately make a second one :) - this time a little bit bigger to actually use for the kitchen. This time I went with 15"x30" instead of 15"x22".
And voila! A kitchen floormat.
Sitting pretty and ready to use.

In the kitchen and already in use.
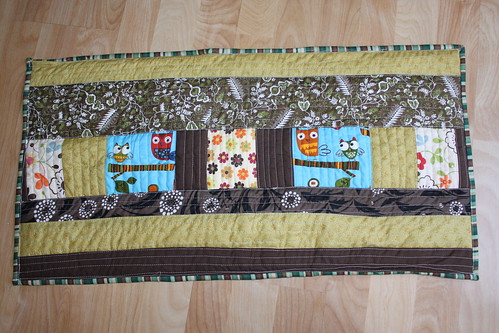
A view from the back:
I used a single fabric - a flannel floral design. It's not organized yet so I have no idea what designer.
Not bad for lack of measuring and designing and very quickly put together. I'll definitely use this technique again, but probably with more precision and planning next time :P. Maybe even try to keep the quilting straight next time :).
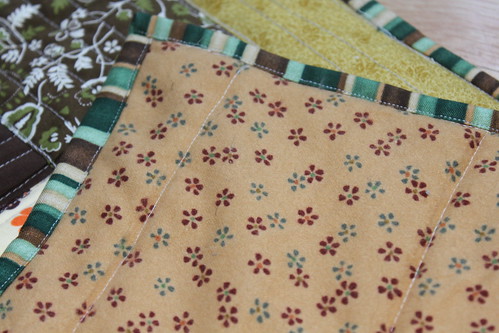
Here's a closeup of the mat:
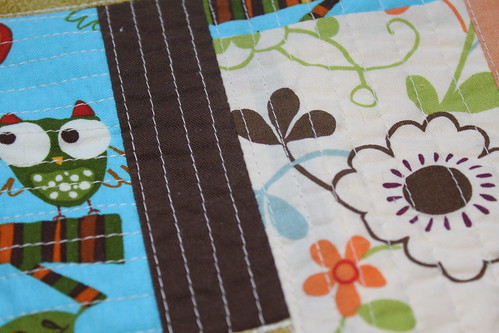
All but the Owl fabric were fabrics from my scrapbox - all fabrics used in previous projects. Could you tell which ones?? :P. I used a cream colored thread and made alternating straight stitches for each strip of additional fabric.
This was also my first time experimenting with machine binding for front and back - I'll do a later post on that experience later. Here's the "GOOD" parts of the trials:

I was very surprised it turned out this well. Though I did have some OOPS moments.
And probably the LAST time you'll see these two floormats together in the same room :).

There you have it, my first floormat, machine binding, Quilt as You Go, cutting for a particular design (the owls) EXPERIENCE. I had a very fun time making these floor mats. I have enough owls cut out for another 2 mats so maybe I'll find some time soon to finish those up. But right now I am loving these 2 I have already.
BTW - I put 2 big owls and 2 little owls on each mat - aka Mom, Dad, and the 2 little rug-rats :).
Quilt Info:
Family of Owls Floormats (Kitchen and Bathroom)
Front: Quilt as You go technique using Owls and Scrap fabrics.
Batting: Warm & Natural 100% cotton
Backing: Single flannel fabric - floral
Completed Dimension: 15"x30" (Kitchen), 15"x22" (Bath)
Quilting Method: Quilt as You Go
Binding: Machine Sew to Front and Back
5 comments:
The fabric is SO cute, Q. I can't believe you are using them as floormats... ;) Your family is lucky to have you let them use such pretty things.
these are amazing....i am not sure i could ever walk on them but they look lovely. i really like the way you laid out the bathroom mat.
How cute! I might use the same technique to make mats to go under my dogs' food bowls! Thanks for the inspiration....
Very cute, I love that idea!
I love this idea! I bet you could even adapt it to adults too! Great Sew and Tell finish!
Post a Comment