
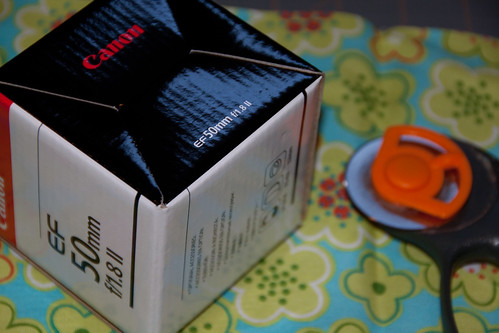
This single fabric technique is good for small packages. For this example I'm using a 3"x3" box.
- Cut fabric 15"x10" for a box 3"x3". Dimensions for other box sizes needs to be about 5x for the width and 3x for the height. You could play around with the dimensions as needed. I like a little extra fabric on all sides so its easier to handle.
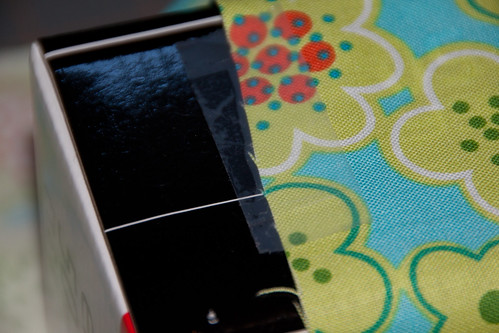
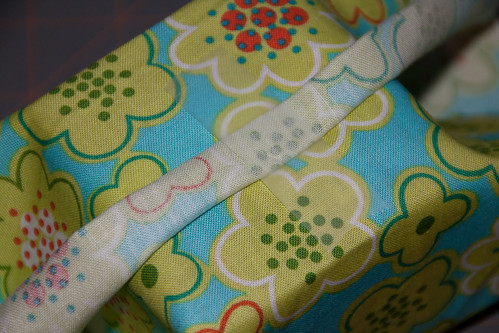
- Place the box on top of the fabric - with the fabric print facing down. Make sure that the box is in middle of the fabric, then take one of the longer edges and fold it over to the top of the box. Then tape this edge in place with some tape. Don't worry about the tape showing because it will be covered up. This is the only tape that will remain in place after the completion of the project.
- Take the opposite edge and folder it over twice so that it looks like this:
- Bring the folded edge over to the top of the package and bring it down over the taped edge. Make sure that the folded edge covered the taped edge completely. Then put a piece of tape to hold it in place.
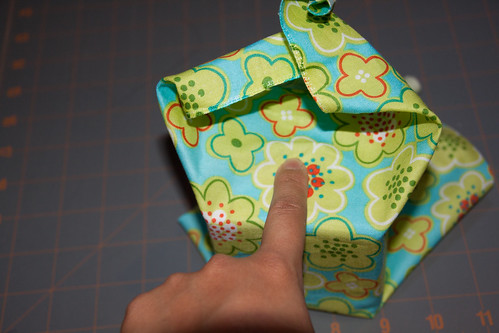
- Now for the other 2 edges. For both of them follow step 5-8. Turn the package on the side that's not being worked on. Fold down the side that does not open and hold it in place.
- Fold the open side slightly in to hide the raw edges.
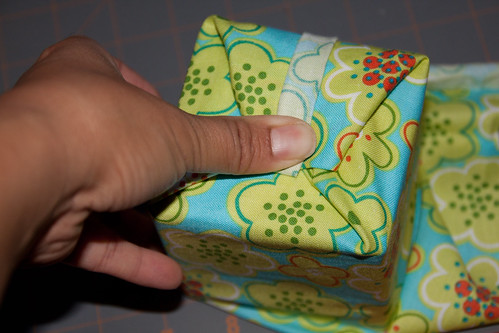
- Carefully tuck in each of the 2 remaining sides. Make sure that it looks like the picture below with the corners nicely tucked.
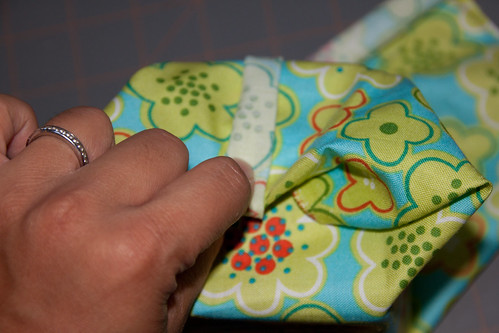
- Now fold the edge from step 5 making sure that all raw edges are nicely tucked away. Use as much tape as needed to keep it from shifting.
- Repeat steps 5-8 for the opposite side of the package.
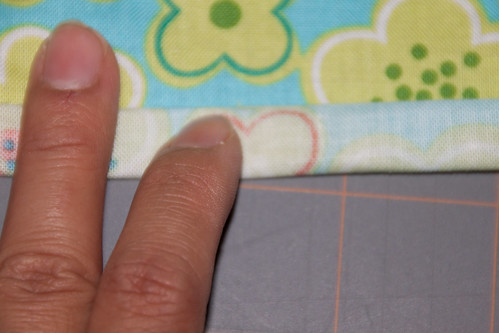
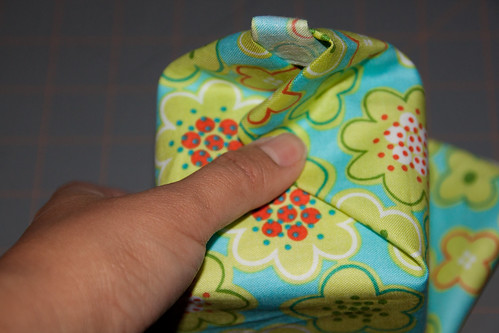
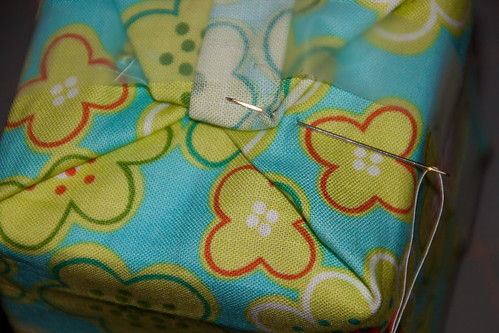
- Stitch the folded sides from step 8 in place using a matching thread. A few stitches should do the trick, just make sure you go through all the layers to keep it secure. Once you feel like you have enough stitches in then remove the tape.
- Repeat with the other side of the package.
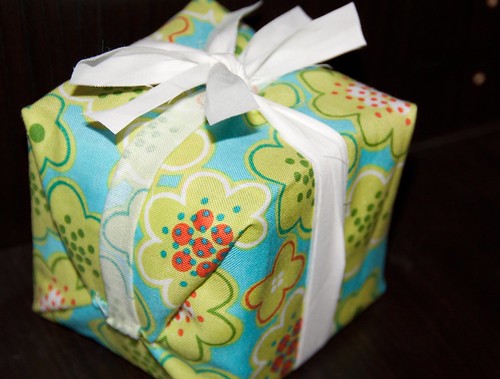
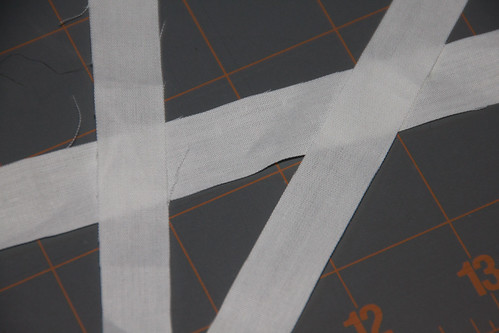
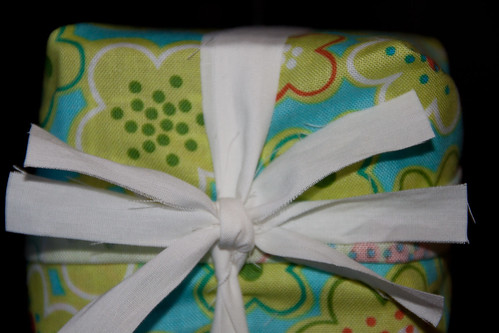
- Now your package is complete. You could add an additional bow if you want. For this example made a simple bow using 3 strips of fabric.
- Ta-da! A simple way of using up scrap fabric. I want to play around with the type of fabrics-maybe use numerous types sewn together? Play around with the bows since I just used a very simple one for this package.

1 comment:
How smart, this is so cute. I like that you stiched the ribbon right on. Nice job.
Post a Comment