
The simple design of two different colored rectangles, checkered is quilting, binded, washed and dried and ready for use. Here's a picture of it on my son's bed.
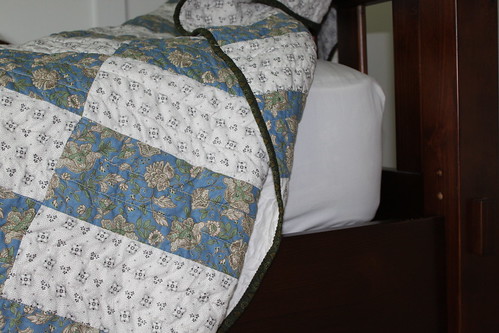
Laying peacefully on my younger son's son-to-be bed (he's still in a crib :)).
The whole quilt consisted of 4 different fabrics: 2 for the front, 1 different one for the backing (as well as a little from the fabrics on the front) and binding. I wanted to keep this quilt simple to show off the blue fabric that I like so much. Speaking of which, here's a close-up of the blue fabric.
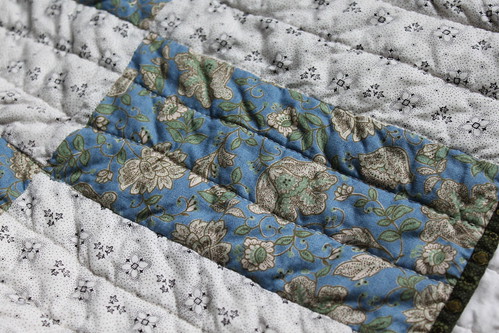
I really liked the way the white fabric went with the blue fabric - it had just enough design to not be plain, but not too much to distract. Notice for the binding I used a dark green fabric with geometric floral designs. It contrasted with the quilt top enough to add as a obvious border, but matched enough to - again - not to distract.
The overall results of the quilt - simple but elegant.
A look at the quilt top:
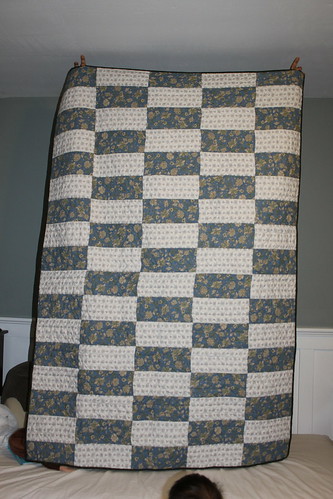
It was rainy and dreary so I couldn't go outside or get good lighting inside the home. So when there was a little spray of sunlight I had my husband hold up the quilt for me to take a few quick snaps with the camera.
A look at the quilt back:
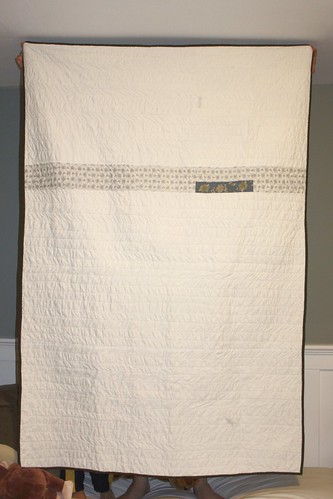
This picture didn't turn out as well. Unfortunately, the little spray of sunlight through the room was gone by the time I got around to back of the quilt. In case you can't make it out, the back was all white except for a strip of a color using the fabrics from the front. Noticed that I changed the design a little on the back - mainly 'cause I ran out of that beautiful blue fabric.
Another thing that was not planned during the design stage of the quilt was how the quilting was going to look. I thought about a free motion pattern, but decided against it because I didn't want to make the quilt look too busy - I wanted to maintain that simple look in the quilt. So, I went with a straight line, straight stitch across the width of the quilt. Each line is about 1.5" apart.
I stitched in the ditch first on every seam across the width. However, I didn't really like the straight stitch really much, so for the stitching that were not 'in the ditch' I decided to give it a slightly 'pulled' look - creating a little texture and definition on the quilt. The results were quite obvious in this picture with the lighting:
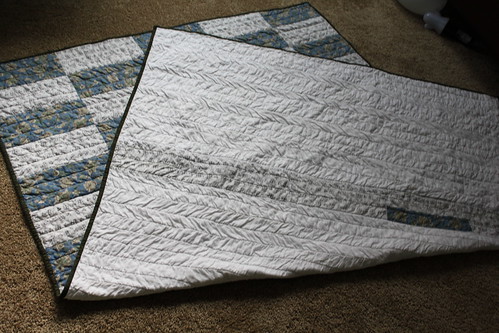
This lighting totally exaggerated the crinkles from the quilting. In person the crinkles are not quilt as exaggerated and is pretty subtle.
I really like the look of this quilt. It accomplished the feel I was going for - simple but elegant. I think I'm going to keep this quilt and give it to my younger son because I was - and still am - clueless on the quilt I should make him. Something that he could grow into. Actually, I think this will be a great quilt for him.
Another one COMPLETED! :)

Doesn't it look pretty all folded up? :P
Quilt Info:
Extended Checkered (1-Blue & White)
Front: 100% Cotton Print Fabrics
Batting: Warm & Natural 100% cotton
Backing: White Broadcloth 100% cotton
Completed Dimension: ~53"x77"
Quilting Method: Machine, Straight Stitch - Straight lines ~1.5" apart
Binding: Machine Sew to Front and Hand Sew to Back
No comments:
Post a Comment