
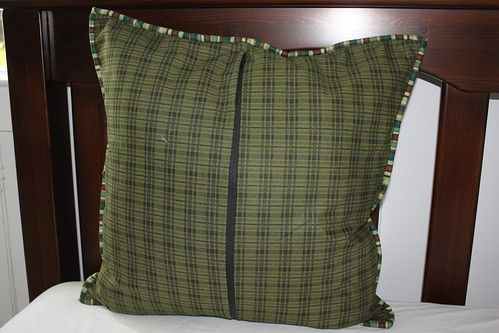
For such a impromptu project, I think the pillows turned out much better than I expected, take a peak:

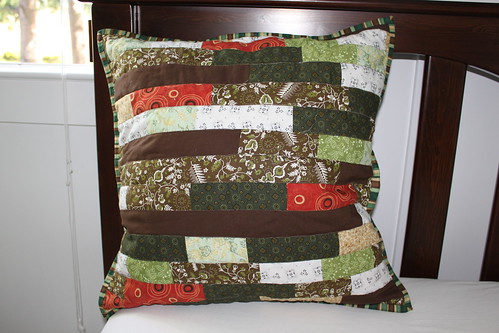
A closeup of the nearly made pillow. Recognize all the fabrics from my other projects? :)
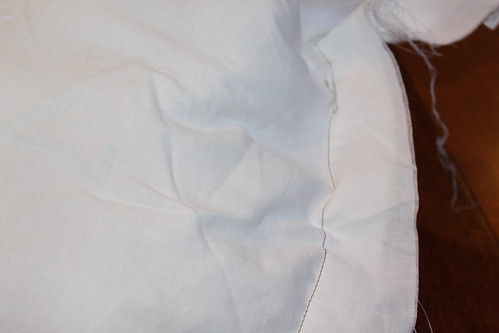
This was one of the reasons why the pillow took me a while to make - trying to figure out how to sew on 'invisible' zippers. The ones I had around the house were a little longer than the pillow, so I had to do some fancy tucking and cutting to get it to fit.

A little tucking and a little trimming and the zipper is finally ready for use. This was a picture of the completed zipper installed - it was taken after I already sew on the binding, but you could still see the fancy tuck work on the far right of the picture.
I didn't have pillow inserts that fit the pillow, so I had to make some new ones. This part went pretty quickly. Here's a quick rundown of the pillow insert.
1) Cut two pieces of fabric about the same size as the pillow.
2) Sew 3 edges together, leaving the 4th edge open.

3) Turn right side out, so the 3 sewn raw edges are now in the inside of the insert
4) Stuff with whatever pillow stuffing you want - think I had a polyester filling.
5) Sew the 4th edge close - this could remain a raw edge, or you could do some folding to cover the raw edge before sewing it down
I kept the 4th edge unfolded. I just use a straight edge stitch about 1/2"-1".
After the pillow insert is done, insert it into the pillowcase, zip and voila!
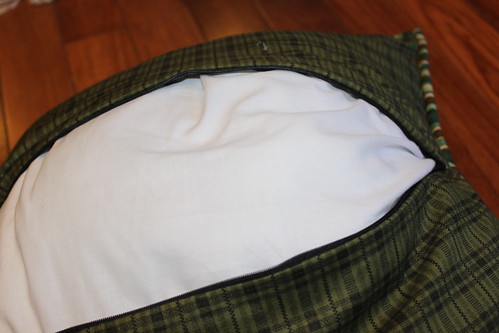
I like to use a pretty full pillow insert, giving the pillow an overstuffed look....nice and big and cuddly.
The pillow is nice enough to use in the living room for decoration, but for now it's in the boys room being used as a throwing toy :) haha what else is new right? :P
Here's a closeup of the binding I used around the pillow. I machine sewed it to the BACK of the pillow and then hand bind it to the front.
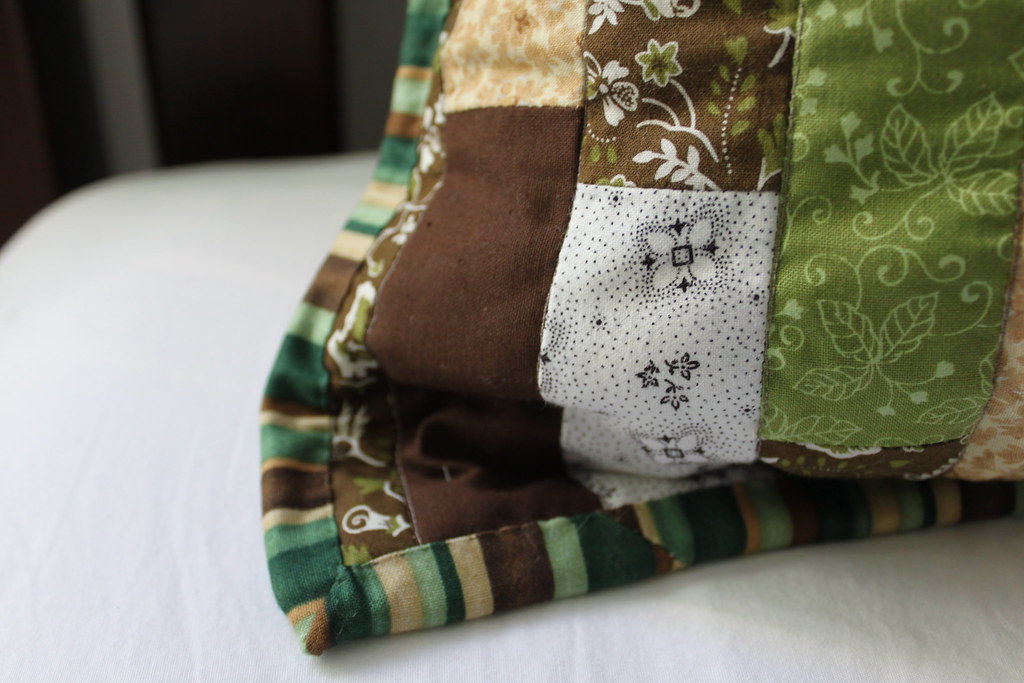
A view of the back. I used a flannel patterned cotton print.
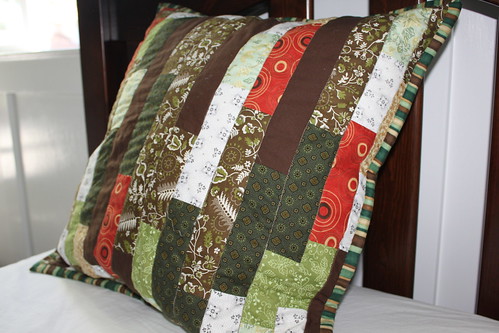
Another 2 views of the pillow:
Horizontal Stripes?
or Vertical Stripes?
No comments:
Post a Comment